Last Updated on February 6, 2023
Are you looking for a way to spruce up your home workshop? Look no further than building a mitre saw bench. This comprehensive guide will show you how to build a mitre saw bench that’s perfect for all of your DIY projects. From gathering the materials, cutting the lumber and assembling the bench, this step by step tutorial has got it covered – with some finishing touches thrown in too. So let’s get started on building a workstation that’ll make any handyman proud.
Table of Contents:
- Gather Your Materials
- Cutting the Lumber
- Assembling the Bench
- Finishing Touches
- FAQs in Relation to How to Build a Mitre Saw Bench
- Conclusion
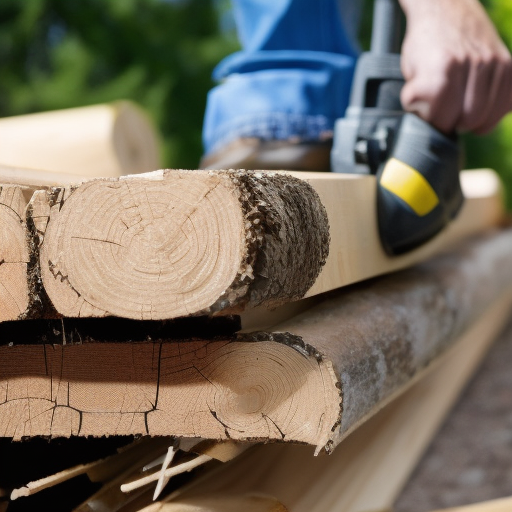
Gather Your Materials
Before you can begin building your mitre saw bench, it’s important to gather all the materials and tools that you’ll need. This will save time and energy when you’re ready to start constructing the bench.
The most important material for this project is lumber. You’ll need two 8-foot 2x4s for the frame of the bench, four 4-foot 1x2s for support beams, and a 3-foot 1×6 board for the shelf underneath. Make sure that all of your boards are straight and free from knots or other imperfections before starting construction.
In addition to lumber, there are several types of hardware needed to build your mitre saw bench: screws (3” wood screws), nails (1 ½” finish nails), brackets (L shaped metal corner braces) and hinges (two butt hinges). Depending on what type of look you want for your finished product, consider using decorative hardware such as drawer pulls or knobs instead of standard screws or nails.
You’ll also need some basic tools like a drill/driver with bits, an adjustable wrench, a hammer or mallet, measuring tape, a leveller and safety glasses in order to complete this project safely and accurately. If you don’t have these items already in your toolbox, then they can be purchased at any home improvement store or online retailer at an affordable price point.
Gathering all these materials beforehand will ensure that everything is ready when it comes time to construct your mitre saw bench, so make sure not to skip this step.
Once you have all the necessary materials, it’s time to start cutting the lumber for your mitre saw bench.
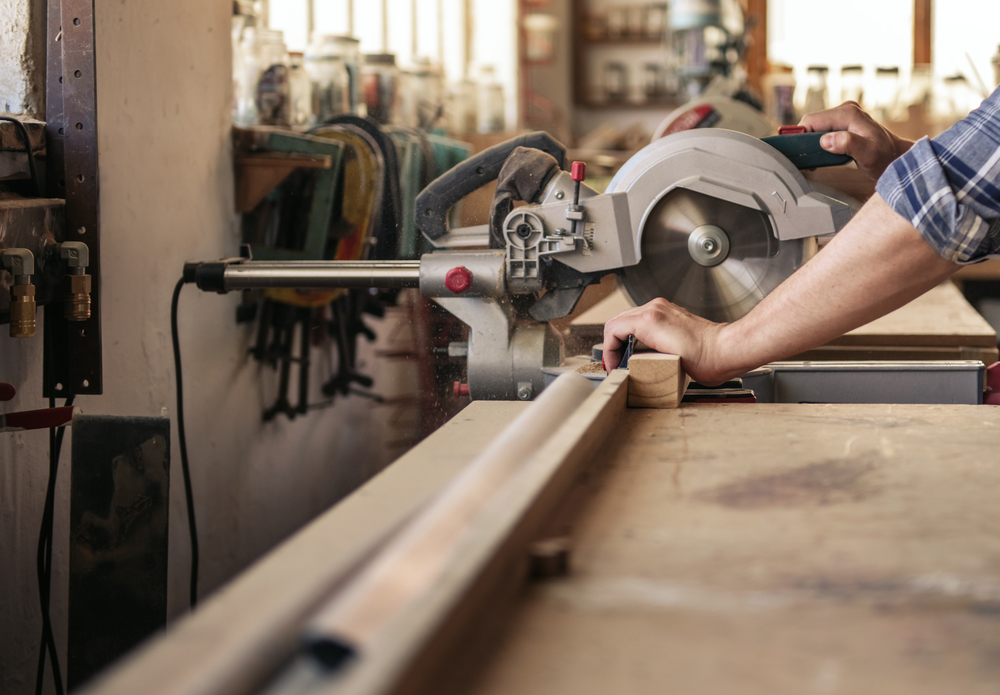
Cutting the Lumber
Measuring and cutting the lumber for your bench is a crucial step in the assembly process. Before you start, make sure you have all of the necessary tools: a tape measure, saw, pencil or marker, and safety glasses. Once you’ve gathered everything together, it’s time to begin.
Start by taking accurate measurements of each piece of wood according to your plans. Make sure to double-check that they are correct before moving on. When measuring, use the longest side as your guide; this will ensure accuracy when cutting later on. Use a pencil or marker to mark where each cut should be made so that there is no confusion once you begin using the saw.
When it comes time to actually cut the lumber, always wear safety glasses and take caution not to injure yourself with either power or manual saws. If possible, use clamps or other methods of securing pieces while cutting them; this will help keep them steady during operation and reduce the risk of injury from flying debris due to an unstable surface area beneath them while being cut. Start slowly with short strokes until you get into a rhythm, then increase speed as needed for larger cuts but still maintain control over what you’re doing at all times – never rush.
Now that the lumber is cut to size, it’s time to start assembling the bench and putting all of those pieces together.
Assembling the Bench
Before you begin assembling the bench, make sure that all of your materials are laid out in front of you. You will need a screwdriver, screws, wood glue and a hammer to complete this project.
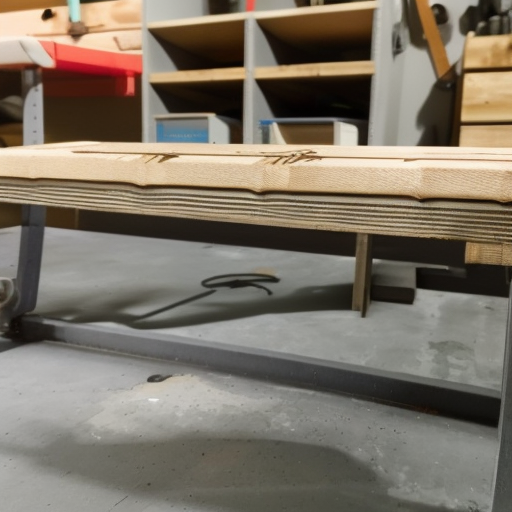
First, place two pieces of lumber together so that they form an L-shape. Secure them with wood glue and allow it to dry for at least 30 minutes before proceeding.
Next, use the screwdriver to attach the third piece of lumber across the top of the L-shape using screws spaced evenly apart. Make sure that each screw is secure by giving it an extra turn or two with your screwdriver once it has been inserted into the wood.
Once all three pieces have been attached securely together, flip over your newly assembled bench frame onto its side and use four additional screws on each corner to further reinforce its stability. This will help ensure that your bench is sturdy enough for everyday use without wobbling or shifting when someone sits down on it.
Once everything looks smooth and even throughout, give yourself a pat on the back. You’re done.
Now that you have the basic structure of your bench in place, it’s time to move on to the finishing touches.
Finishing Touches
Once you have finished building your bench, it is time to add the finishing touches. This includes sanding and staining the wood for a polished look, as well as adding any additional features, such as drawers or shelves.
Sanding
Sanding your bench is an important step in creating a smooth finish that will be resistant to wear and tear. Start by using a medium-grit sandpaper to remove any rough edges from the wood. Once this is done, switch to a finer grit paper until all of the surfaces are completely smooth. Be sure to use even strokes when sanding, and make sure not to press too hard on one area so that you don’t create dips or grooves in the surface of your bench.
Staining
Staining can help bring out the natural beauty of your wood while also protecting it from moisture damage and discolouration over time. When selecting a stain colour, keep in mind that lighter colours tend to show more grain than darker ones do, so if you want more definition between each plank, then go with something light like oak or walnut stain. Before applying the stain, make sure that all surfaces are clean and free of dust particles so they won’t get trapped beneath it during the application process. After applying two coats of stain (allowing them plenty of time dry between applications), seal with clear polyurethane for extra protection against water damage and fading over time.
Adding drawers or shelves can give your bench some extra functionality without taking away from its aesthetic appeal. If you plan on installing drawers into your bench design, consider using pre-made drawer boxes rather than attempting custom construction yourself; this will save both money and headaches down the line. As far as shelves go, these can be easily added onto existing benches simply by attaching brackets directly into studs within wall cavities behind them; just make sure they are securely fastened.
FAQs in Relation to How to Build a Mitre Saw Bench
How long should a Mitre saw bench be?
When choosing the length of a mitre saw bench, it is important to consider the size of your workspace and what type of projects you plan on using it for. Generally speaking, most benches should be between 36-48 inches long. This will provide enough space to comfortably cut larger pieces while still allowing you to move around freely in your workspace. If you plan on cutting longer boards or working with large materials, then a longer bench may be necessary – up to 72 inches long. Consider also how much storage space you need; if there are tools and other items that need to be stored beneath the work surface, then a deeper bench may be needed as well.
How deep should a mitre saw bench be?
The ideal depth of a mitre saw bench depends on the size and type of saw you are using. Generally, it should be at least 24 inches deep to provide enough space for your arms to move freely while cutting. For larger saws, such as 10-inch models, a deeper bench is recommended – up to 36 inches or more in some cases. Additionally, make sure that the height of the bench allows you to comfortably work with your saw without having to strain yourself or reach too far forward. With these considerations in mind, you can ensure that your mitre saw has an appropriate depth for safe and efficient use.
How do you make a simple mitre saw table?
Making a mitre saw table is an easy project that can be completed in just a few steps. First, measure the size of your mitre saw and decide on the dimensions for your table. Cut two pieces of plywood to those measurements and attach them together with screws or bolts. Next, use wood glue to attach four legs at each corner of the tabletop. Finally, drill holes into the top surface so you can secure your mitre saw in place with bolts or screws. Once complete, you have a sturdy workbench perfect for any home improvement project.
Conclusion
Building a mitre saw bench and workstation is an exciting project that can help you get the most out of your tools. With careful planning, attention to detail, and patience, you can create a sturdy and reliable bench for all your woodworking needs. Whether it’s cutting boards or trimming door frames, having a mitre saw bench will make any job easier. So don’t wait – start building your own mitre saw bench today.
Paul is the type of person who never met a problem he couldn’t fix. He can always be found tinkering with something in his house, even if it isn’t broken! His tips and tricks are often shared on our site. He’s the one you call when something breaks because he has been known to improvise fixes for everything from leaky faucets to malfunctioning dryers.