Last Updated on February 6, 2023
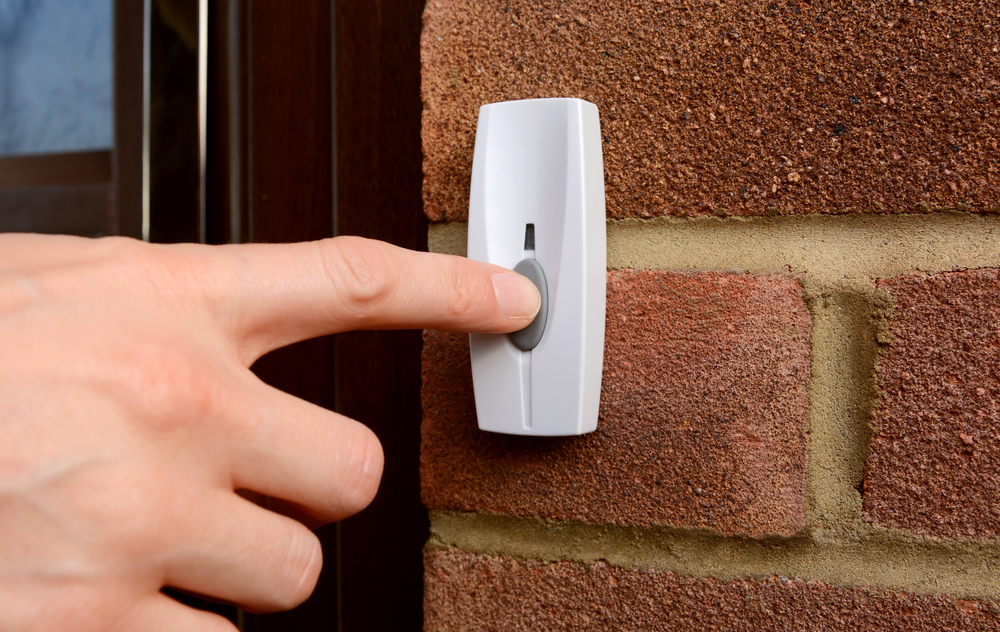
Is your wireless doorbell not working as it should? Don’t worry – with a few simple steps you can easily change the battery in your wireless doorbells and get them back up and running! You don’t need to be an expert handyman either, just follow our easy guide on how to change the battery in wireless doorbells. We’ll cover everything from gathering tools, removing covers, replacing batteries and testing out your work. So let’s jump right into changing that pesky battery.
Table of Contents:
- Gather Your Tools
- Remove the Cover
- Replace the Battery
- Test Your Work
- FAQ in Relation to How to Change the Battery in Wireless Doorbells
- Conclusion
Gather Your Tools
Changing the battery in a wireless doorbell is an easy task, but you’ll need to gather the right tools before getting started. The most important tool for this job is a screwdriver. Depending on your doorbell model, you may need either a Phillips head or flathead screwdriver. Make sure to check which type of screwdriver your doorbell requires before starting.
You’ll also need new batteries for your wireless doorbell. Most models require two AA or AAA batteries, so make sure to have those handy as well. If possible, try and purchase rechargeable batteries that can be used over and over again instead of single-use ones – it’s better for the environment and will save you money in the long run.

Finally, if you’re having trouble locating any of these tools or parts for your specific model of wireless doorbell, don’t hesitate to contact customer service at the manufacturer’s website; they should be able to provide assistance with finding what you need.
Gather all the tools you need to complete the job, such as a screwdriver and wire cutters. Once everything is in place, you can start by removing the cover of your wireless doorbell so that you can access the battery.
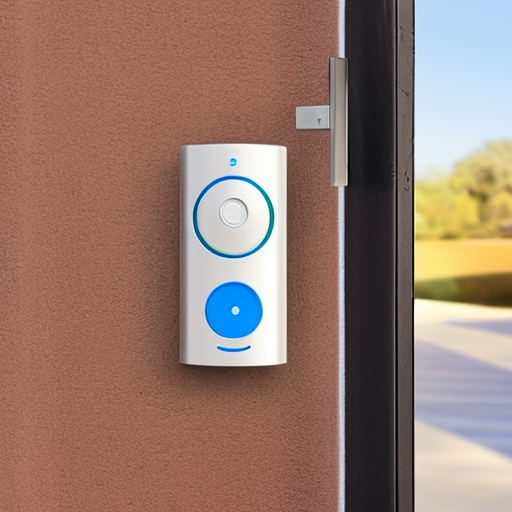
Remove the Cover
Removing the cover of a wireless doorbell is an easy task that requires minimal tools. Before you begin, make sure to gather your tools: a Phillips head screwdriver and any other necessary items like pliers or wire cutters.
Once you have all your materials ready, locate the screws on the back of the wireless doorbell cover. Depending on the model, there may be one or two screws holding it in place. Using your Phillips head screwdriver, unscrew each one until they are loose enough to remove by hand. Once removed, carefully set aside both screws and their respective covers for later use when reassembling everything together again.
Now that you’ve successfully removed your wireless doorbell’s cover without incident – congratulations. You can now proceed onto replacing its battery if need be and testing out whether it works properly once more after installation has been completed.
Once the cover is removed, you can access the battery compartment and proceed to replace it with a new one.
Replace the Battery
Now that you’ve removed the cover, carefully lift out your old battery and replace it with a new one making sure that its polarity is correct (the positive terminal should match up with its corresponding positive terminal). Securely fasten down any screws or clips so that nothing comes loose while using it later on down the line. Once everything is secure double check all connections before moving onto testing out how well it works
Test Your Work
Now that you’ve replaced the battery in your home or garden product, it’s time to test if it works correctly. To do this, first press the button on the doorbell and make sure you hear a sound coming from inside. If not, check to see if there is any signal on your phone. This could be a notification alerting you of someone at the door or an incoming call.
Next, try out any other features that come with your product such as motion sensors for security cameras or lights turning on when they detect movement. Make sure these are all working properly too before moving on to the next step.
Finally, take some time to familiarize yourself with how everything works so that you can use it confidently and efficiently in future scenarios. Read through any instructions provided by manufacturers and don’t hesitate to ask questions if something doesn’t seem right. With proper testing and understanding of how things work, you’ll have no problem using your new home or garden product like a pro.
FAQs in Relation to How to Change the Battery in Wireless Doorbells
How do you remove a wireless doorbell cover?
Removing a wireless doorbell cover is relatively straightforward. First, locate the screws on the back of the cover and unscrew them using a screwdriver. Once all screws are removed, carefully pull off the cover from its mounting plate. If there is any adhesive holding it in place, gently pry it away with a flat-head screwdriver or another suitable tool. Finally, take out any batteries and dispose of them properly before disposing of the old cover as well.
Conclusion
Learning how to change the battery in wireless doorbells is a simple task that can be completed in just a few minutes. With the right tools and knowledge, you’ll have your doorbell ringing again before you know it! Whether you’re replacing an old battery or simply want to keep your doorbell running smoothly, changing the battery in wireless doorbells is a great way to ensure that your home stays secure.
Paul is the type of person who never met a problem he couldn’t fix. He can always be found tinkering with something in his house, even if it isn’t broken! His tips and tricks are often shared on our site. He’s the one you call when something breaks because he has been known to improvise fixes for everything from leaky faucets to malfunctioning dryers.