Last Updated on February 10, 2023
As any keen sewer knows, a well-maintained sewing machine is essential for creating beautiful projects. Keeping your machine clean and oiled will not only extend its life but also ensure that you get the best performance from it. In this blog post, we’ll explore how to clean and oil a sewing machine so that you can keep on stitching without interruption. We’ll cover all the steps required for preparing your sewing machine before cleaning or oiling it, as well as provide advice on maintaining it in top condition once you’re done. So grab some supplies, and let’s dive right into learning how to clean and oil a sewing machine like an expert.
Table of Contents:
- Preparing Your Sewing Machine
- Cleaning the Machine
- Oiling Your Sewing Machine
- Maintaining Your Sewing Machine
- FAQs in Relation to How to Clean and Oil a Sewing Machine
- Conclusion
Preparing Your Sewing Machine
Before you begin the process of cleaning your sewing machine, it is important to unplug the machine and remove any attachments. This will ensure that no electricity runs through the machine while you are cleaning it, which can be dangerous. It is also a good idea to take a few moments to familiarize yourself with all of the parts of your sewing machine so that you know what needs to be cleaned and where.
Start by taking off any decorative pieces or covers from around the needle area. These should be set aside in a safe place for later reassembly. Next, use a soft cloth dampened with water (or mild detergent) and gently wipe down all surfaces of your sewing machine, including buttons, knobs, levers, dials and switches. Be sure not to get too much liquid on these areas as this could damage them over time.
Finally, close up again before moving on to oiling your sewing machine below.
Cleaning the Machine
Cleaning your sewing machine is an important part of its maintenance. A soft cloth dampened with warm water and mild detergent should be used to clean the exterior of the machine, paying special attention to areas where lint can accumulate. Start by wiping down the outside surface of the machine, including any knobs or buttons. Use a cotton swab dipped in soapy water to get into tight spaces and crevices. Be sure not to use too much pressure when cleaning, as this could damage delicate parts inside the machine.
Once you have wiped down all external surfaces, it’s time to move on to cleaning out any lint that has built up inside your sewing machine over time. To do this, first, remove any thread spools from their holders and set them aside for later use. Then open up the bobbin case cover located at the bottom of your sewing machine and carefully remove any excess threads or lint using tweezers or a small brush such as an old toothbrush or paintbrush. If there are stubborn pieces of lint stuck in hard-to-reach places, try using compressed air (such as canned air) to blow them away safely without damaging the internal components of your sewing machine.
Finally, check for signs of rusting along metal parts like needles and presser feet; if found, then apply some oil using a cotton swab onto these areas before operating your sewing machine once more.
Once you have cleaned the machine, it is important to oil it in order to keep it running smoothly. In the next section, we will cover how to properly oil your sewing machine.
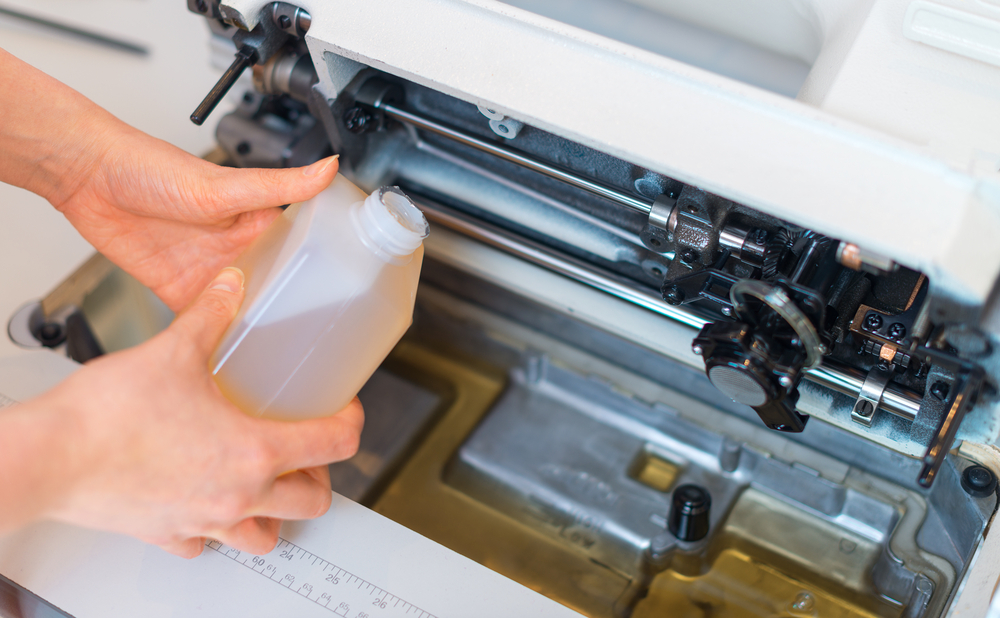
Oiling Your Sewing Machine
If you’re a sewing enthusiast, you know that the key to having your machine run smoothly is proper maintenance. Oiling your sewing machine is an important part of this process and can help keep it running for years to come.
Before oiling, make sure that your machine is unplugged and free from any fabric or thread remnants. You should also use a lint-free cloth to wipe away any dust or dirt particles before beginning the oiling process.
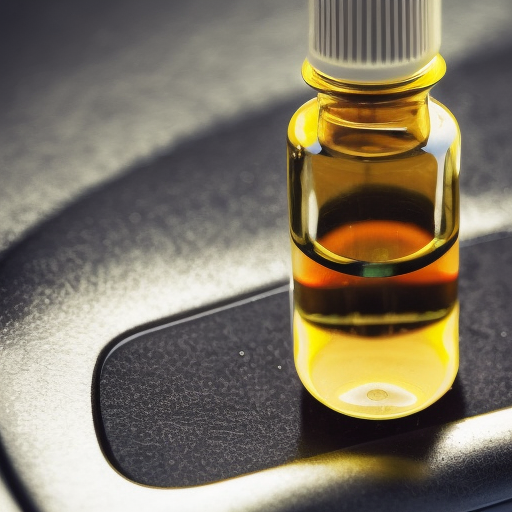
The type of oil used on your sewing machine depends on its model and manufacturer’s instructions. Generally speaking, most machines require light weight lubricating oils such as 3-in-1 Oil or Singer Machine Oil, which are available at most craft stores. Avoid using vegetable oils as they may gum up the works over time.
When applying the oil, be sure to focus on areas where metal parts move against each other such as around screws and shafts, in shuttle races (the area where bobbin cases go), hook races (where the needle goes) and feed dog races (underneath throat plate). Also, apply a few drops of oil along the length of the needle bar while moving it up and down several times with one hand while holding onto it with another hand so that it doesn’t fly off when released due to pressure build up from inside. Finally, add some drops into all moving parts like cams & gears located under the face plate cover too, if possible, but avoid getting them near electrical components like the motor etc. Otherwise, you might end up damaging them beyond repair.
Once finished, turn on your machine for about 10 seconds without thread in order for the newly applied oil to spread evenly throughout all parts. After this, turn off the machine, and you are ready to start stitching away.
Regularly oiling your sewing machine is essential for ensuring it runs smoothly and efficiently. Next, we’ll look at how to maintain your sewing machine so you can continue using it for years to come.
Maintaining Your Sewing Machine
Maintaining your sewing machine is essential for keeping it in good working order. Regular maintenance will ensure that your machine runs smoothly and efficiently, so you can keep on creating beautiful projects with ease. Here are some tips to help you keep your sewing machine running like new:
Dust It Regularly. Dust and lint can build up over time, causing problems with the functioning of the machine. Make sure to use a soft cloth or brush to dust off any debris from around the bobbin case, needle plate, feed dogs, and other areas of the sewing machine. This should be done at least once a month or after every project if possible.
Check For Loose Parts & Replace them As Needed. Over time parts may become loose due to wear and tear or just normal usage of the sewing machine. Check all screws and bolts regularly for tightness as well as any other parts that could be loose such as presser feet or needles, which should also be replaced when needed for optimal performance of your sewing machine.

Oil The Machine Properly & Frequently Enough To Keep It Running Smoothly. Sewing machines need oiling in order to run properly; this helps reduce friction between moving parts, so they don’t wear out quickly from excessive heat generated by the constant use of the device over time without proper lubrication. Oiling should generally be done about once a month, depending on how often you use it but make sure not to overdo it either since too much oil can cause buildup, which could lead to further problems down the line with your sewing machine’s operation.
After completing each project, take the time to clean out threads from bobbins and tension discs before storing your sewing machine. This will help prevent tangles from occurring when you take it out for another project, saving you a great deal of frustration.
Before starting any new project, always test out all functions on your sewing machine, such as stitch length/width settings and thread tension. This will ensure that everything is still working correctly before beginning work, thus avoiding issues along the way which could result in wasted materials due to unanticipated malfunctions during the process.
FAQs in Relation to How to Clean and Oil a Sewing Machine
How do you clean and oil a sewing machine step by step?
Cleaning and oiling a sewing machine is an important part of maintaining its longevity. To start, unplug the machine from any power source and remove all attachments. Use a soft cloth to wipe down the exterior of the machine, removing dust and lint build-up. Open up the bobbin case cover and use compressed air or a small brush to clean out any debris that may have accumulated inside. Next, add one drop of sewing machine oil into each area where metal parts move against each other (e.g., needle bar thread guide). Finally, plug in your machine again and test it out with some scrap fabric before using it for your next project.
What is the first thing to do in cleaning and oiling your sewing machine?
The first step in cleaning and oiling your sewing machine is to unplug it from the power source. Next, remove any attachments or accessories that may be attached to the machine. Then, use a soft cloth dampened with warm water and mild detergent to wipe down all surfaces of the machine. After wiping down the exterior of the machine, use a brush or vacuum cleaner attachment to clean out lint and dust from inside the bobbin case area. Finally, add one drop of sewing machine oil to each moving part before reassembling your sewing machine. Once all the parts are back in place, plug your machine back into the power source, and you’re ready to start sewing.
Conclusion
Cleaning and oiling your sewing machine regularly will help to ensure that it runs smoothly and lasts for many years. With a few simple steps, you can easily clean and oil a sewing machine so that you can continue to enjoy the benefits of having one at home. So take some time out today to give your beloved sewing machine the TLC it deserves.
Paul is the type of person who never met a problem he couldn’t fix. He can always be found tinkering with something in his house, even if it isn’t broken! His tips and tricks are often shared on our site. He’s the one you call when something breaks because he has been known to improvise fixes for everything from leaky faucets to malfunctioning dryers.