
Last Updated on January 17, 2023
So, you would like to know how to hang a door in an existing frame but are unsure what this task will entail. The good news is that we are not looking at a job that should prove too difficult, and it’s all thanks to the fact that you already have a door frame ready.
But let’s face it, you still want to make sure you hang a door the correct way. It’s important that your new door opens correctly and closes without too many problems.
So, what do you do?
That is where the next few steps should prove useful for most people. We will walk you through how to remove your existing door and the entire process of hanging doors by yourself into an existing frame.
Read on. By the end of this article, you will hopefully feel confident enough to go ahead and do it!
Hanging Doors Into an Existing Door Frame: A Step-By-Step Guide
What You’ll Need
From a tools perspective, you need very few because you’ll be taking advantage of the existing door frames. You’ll only need a screwdriver, hammer, chisel, a sharp pencil, and possibly either a plane or a circular saw.
A tape measure would not go amiss either. It is so much easier to measure and mark things out on the hinge side if you can check all of the measurements accurately.
Step 1: Remove the Existing Door
The first step is to clearly remove the existing door. Open up the door, and look at the hinges. You will see the so-called hinge pin in the middle of the hinge. You need to remove this, but be aware you might need to hit it with a hammer to remove the pin.
You then need to look at removing the door from the hinges to allow it to come free. This could prove awkward for some people, so it does help if someone is there to help with holding the current door.
Detach the old door from the hinge that connects it to the door frame, and then place it on the ground next to you.
Take care not to damage the existing door frame by being too forceful when removing the old door. You want to make life as easy as possible for yourself.
Step 2: Line Up Both Doors
Next, have your new door on the ground beside the old door. Line them up to ensure the hinge positions align with one another.
At this point, it’s also best to check that your new door is the same way up as the old door — this prevents you from potentially hanging the new one upside down.
As you have the two doors sitting with the hinge side facing one another, it’s easier for you to mark where the hinge recesses and hinge positions need to be on the new door. When you hang a door, you need everything to be in perfect alignment, or you end up with a door edge sticking out of the existing frame, and it won’t sit flush.
Step 3: Mark the Positions
You then need to look at where you will position the door hinges with the new door. Remember that the positions are already set on the existing door frame, so you need to ensure that they will work for your new door.
Mark where they should be positioned by lining them up with the old door. Also, check that you do not need to make any adjustments to door lengths. It’s best to ensure that this is not the case before adding the door to the existing frame.
Step 4: If Required, Trim the New Door
If the new door is too long, then now is the time to trim using a circular saw. Double-check your marks, and make sure the line you will cut with the circular saw is straight and true.
After cutting, make any additional small adjustments by using a plane. It will also help make the bottom of the door smoother before hanging. Once you have finished trimming, hold the door in the old door frame to see how it fits. The last thing you want to do is hang a door and find it catches on the ground.
Step 5: Adding the Hinges
If you plan on using the existing hinges, then remove them from the door and frame at this point. Remember, you should have already marked their position to know where the hinge plate needs to be positioned with your new internal door.
Take the hinges, and hold them against the position you marked. Take a pencil and draw around the hinges when in that position. This provides you with a template to focus on. Also, if you are using new hinges, you still need to do this step, or you run the real risk of being unable to hang the door correctly.
Using a hammer and sharp chisel, start to remove some of the wood inside the template lines. The aim here is to give the seating for the hinges. You cannot simply add them to the top of the door edge.
Make sure you remove enough wood for the hinges to sit flush.
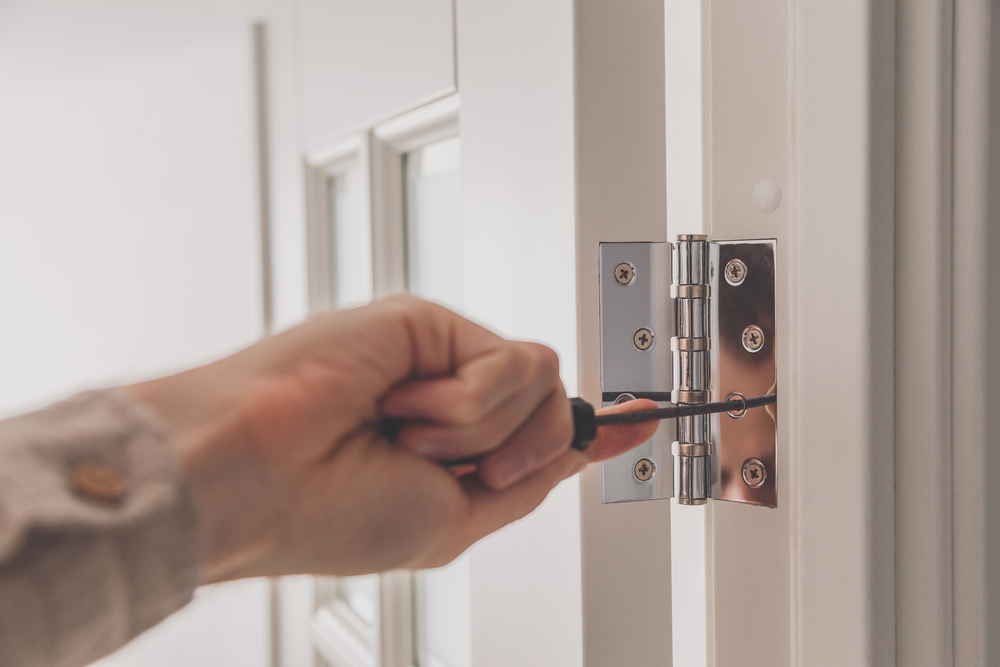
Step 6: Screwing On the New Hinges
Once you have removed the wood, you can see about getting out the screws and attaching the hinges to the edge of the door.
First, remove the hinge pins from the hinges. It makes life so much easier. Next, take one of the hinge leaves and attach it to the edge of the interior door frame.
After this, you need to attach the other leaf to the edge of the door. This is why you should take those pins out — it makes life easier by attaching the hinges.
Once both sides are screwed onto both the frame and the door itself, you need to line up the hinges and drop the pin back into the hinge.
You should now find that your door is hanging, but your job is not over yet.
Step 7: Check Everything Is in Place
After hanging the door, you need to check everything before finalising the door. When you hang the door, make sure you have no problem opening it. Check also if there is some clearance on the floor of the room. If not, plane the bottom a bit more by removing the door and repeating the process.
At this point, check whether the screws are right into the wood on both the side of the door and the frame itself. You want the screws to be tight to reduce excess movement when opening the door to enter the room.
Step 8: Finishing the Door
Finally, you need to complete the door, which means adding a new knob and a weather strip to the bottom if required.
Also, you need to think about more than just the hinge. Instead, consider the lockset and make sure it is in a perfect position.
Line up with the existing latch plate on the door frame. Mark where the latch plate should be positioned, and drill pilot holes to mark the position.
Finally, chip out where the latch plate needs to go on the door to make sure it fits within the existing frames. Once that is done, you are good to go.
Key Tips on How to Fit a Door to a Frame
Finally, even though the entire process of managing to replace one door with another in an existing frame is easy, you might want a couple of tips to help.
First, do follow our step-by-step instructions. They are designed to help you through the entire DIY project without running into too many problems.
Next, check every measurement with a tape measure before you start cutting or drilling holes. You must have absolute confidence in your marks. Double-check that you have the door’s side lined up perfectly with the old one. You know the existing ones worked, so you need to check that your replacement doors can also function similarly.
When hanging your doors, don’t put the screws right in until you have checked the length of the doors. There is nothing worse than putting the screws home, only to then undo it all to power plane the bottom.
When you hang the door, start with the top hinge. It makes it easier since it removes some of the weight from the door, allowing you to hang the bottom part.
Finally, know the frame width before you purchase new doors. Frames do come in different widths, and it’s easy to get the wrong doors as a result. You can also measure existing doors and take those measurements with you when making your purchase.
Hanging Internal Doors Like a Pro
And that is how to hang a door in an existing frame: even though it does involve a few steps, it shouldn’t be too difficult.
When hanging a new door, the key here is arming yourself with patience and taking your time. Fitting a new door should not be complex, but there’s always the risk of making a mistake through an incorrect measurement or positioning error.
Unfortunately, even a small error can make fitting a door to a frame exceptionally difficult. However, if you follow the steps listed above, you should find it manageable to get your door in the perfect position, even if you have to cut it.
Have you tried hanging doors in an existing frame? Share your experience in the comments below!

Ian loves everything that revolves around the home improvement niche. He loves trying out new home appliances. He has also handled a lot of equipment and has a lot of insight. Plus, he’s worked on various home improvement projects that became a success. If Ian isn’t busy working on his latest project, you can find him reading up about another one!