Last Updated on February 24, 2023
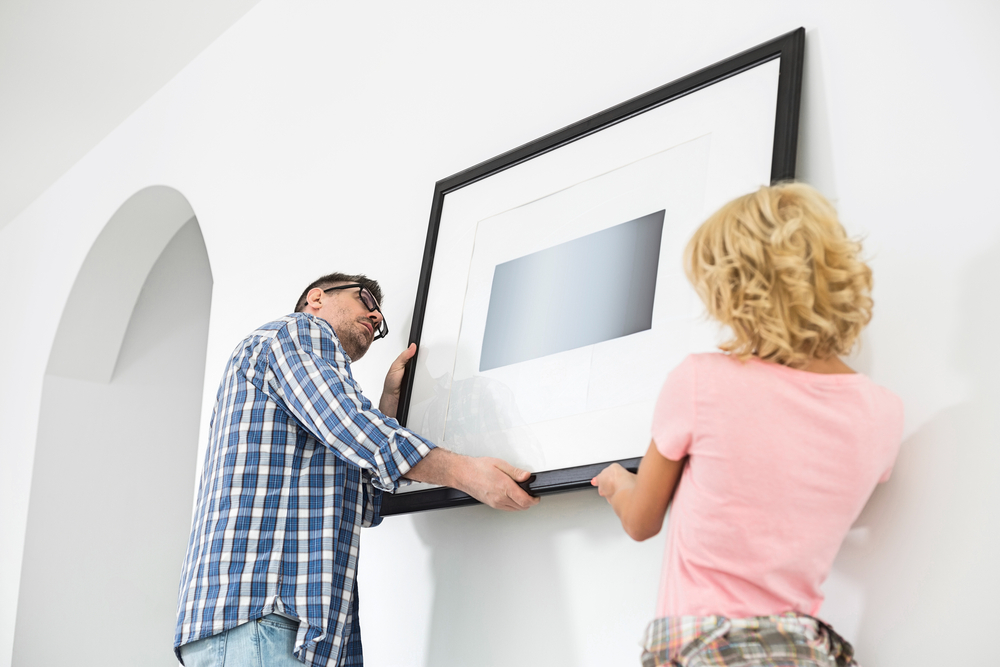
Have you ever wondered how to hang some beautiful pictures on your wall without using nails?
A wall looks more attractive with some pictures and artwork hanging on it. On top of that, pictures and art can make a space look more lively and vibrant, spicing up your home decor. While nails are quite effective in hanging pictures, nails can damage wall paint quite easily. Most nails can also damage your walls by leaving some small holes on the surface of your walls.
The whole process of filling or repairing multiple nail holes is cumbersome and time-consuming. Well, the good news is that there are different options and alternatives that can help you hang heavy pictures on different types of walls. In this post, we will show you how to hang canvas without nails.
Let’s dive in, shall we?
Hanging Pictures Without Nails: a Step-by-Step Guide
These are some methods you can use to hang a large painting, several small photographs, or a piece of art without using nails:
Method 1: Adhesive Hooks
As the name hints, adhesive hooks are special hooks designed to hang various appliances from walls (both light pictures and heavy pictures). They come with a base that sticks to a wall easily, making it easier for you to hang art, heavy pictures, and different items on the hook. Well, most manufacturers usually apply an adhesive on the base of the adhesive hook so that it can stick on different walls.
On top of that, some adhesive hooks might come with a high-quality adhesive that doesn’t stain walls even after removal. Even hanging heavy pictures with these types of hooks saves your walls from nasty stains and various defects!
Different types of adhesive hooks can handle pictures and artwork with varying weights. Since there are a variety of sizes of hooks, it will be simpler for you to pick one that will support the weight of the photographs or artwork you intend to hang. Most adhesive hooks support large pictures with a heavy frame, and they work incredibly well to support medium-sized and small pictures too.
Due to the design of adhesive hooks, most pictures will leave a certain space between the wall and the hook once they are hung. Such spaces make pictures look neat and superb, giving them a gallery-themed style.
These simple steps will guide you while you are hanging pictures with press-in hooks.
Step 1: Clean the Surface
You should clean the wall surface using high-quality rubbing alcohol (isopropyl alcohol) to get effective results.
Other types of detergents or cleaners might leave a residue, interfering with the adhesive properties of the adhesive hook.
Take a clean cloth, then pour a small amount of rubbing alcohol on the cloth. Use the cloth to wipe the surface on which you plan to install the adhesive hook. Give it enough time to dry off.
Step 2: Prep the Hooks
Once you finish cleaning the wall, you need to prep the adhesive hook to stick on your wall. Since most picture hanging hooks come with a base covered with a liner, you have to remove the liner that covers the adhesive surface of the base.
On the other hand, some might not come with a sticky base. Such hooks come with an adhesive strip, which should be stuck on the base of the hook.
If that’s the case, you have to remove the liner from one side of the strip. Peel off the liner from the strip, then place the adhesive surface on the base of the hook. Afterwards, pell off the second liner from the picture hanging adhesive strip to reveal the surface that will stick to the wall.
Step 3: Stick It
Next, stick the adhesive side of the hook on the surface that you had cleaned earlier. Before you stick the hook, you have to check whether the wall is completely dry or not. If it is dry, you can stick the hook on your interior wall. To get effective results, stick it in an upright position. Hold it firmly in an upright position for about 45 seconds to one minute while applying some pressure on the hook.
After that, leave it on the wall for about one and a half hours, giving the adhesive enough time to dry off completely. Once the adhesive dries off, hang your picture carefully on the hook.
Method 2: Adhesive Strips
Adhesive strips are designed to hang various items on a wall, like press-in hooks. Simply put, adhesive strips are special types of strips that come with two adhesive surfaces. However, those surfaces are often covered with a liner to preserve the adhesive properties of the strip.
One side of the strip can stick on the frame, while the other side can stick on a wall, making it easier for you to display your pictures. Most manufacturers usually feature multiple strips in a single packet. This makes it possible for you to hang different pictures on the wall. Not to mention, picture hanging strips are usually packaged in that manner.
Apart from that, you should use multiple picture hanging strips while hanging a single picture on the wall. Strips should be fixed on different parts of a picture wood frame to give you superb results; for instance, you should stick an adhesive strip on the left side of the picture frame, the right side top corner, the upper part, the top centre, and the lower part of it.
Adhesive strips are often designed to support different types of picture frames. Look for an adhesive strip based on the size and weight of the picture that you plan to hang. Heavier pictures might require more support from the strips.
Follow these simple steps if you are planning to hang wall art or pictures with adhesive strips:
Step 1: Prep the Frame
Start by getting rid of anything that might be protruding from the backside of the frame. Examples of such things include nails, wires, and screws.
Step 2: Clean the Wall Surface
Next, clean the wall surface so that the strips can stick easily. Pour some rubbing alcohol on a clean cloth, then wipe the wall’s surface for some minutes.
Step 3: Attach Two Strips
Some picture hanging strips come in pairs to support pictures effectively. For instance, one adhesive strip can be attached to another adhesive strip, creating one set of command strips.
Not to mention, some strips might have a liner that makes it easier for you to know the side that should be stuck on the frame.
Take one adhesive strip and attach it to another adhesive strip. One surface should stick on the other surface (press firmly to get superb results).
Step 4: Stick the Adhesive Strips on the Frame
Flip the picture to access the back part of the picture frame. Peel off the liner of the surface that is going to come into contact with the frame. Place the strip on the frame, then hold it in that position for about 45 seconds to 1 minute as you apply some pressure on the strip—press it firmly. Well, you can use more strip sets, depending on the weight of the picture.
For instance, if you plan to hang a lightweight picture, you can stick a set of strips on the top left side of the frame and then stick another one on the top right side of the frame. On the other hand, if you are planning on hanging a heavy picture or artwork on a wall, a couple of command strips might be ideal for you.
Step 5: Set up the Picture on the Wall
Once you stick enough strips on the frame, peel off the liners that are covering the adhesive surface that will come into contact with the wall. After that, hold your frame in an upright position, then place it on the wall surface that you had cleaned earlier on.
If you had attached one strip to another one earlier to create a single set of strips, detach one strip from the other on each set to remove your frame from the wall. Once you do this, some strips will be left on the wall. Place your finger on a command strip and apply some pressure on the strip for about 45 seconds. Repeat the same procedure on the other strips.
Give the adhesive strips enough time to stick to the wall surface completely—anything between one hour and one and a half an hour might be ideal for this.
Return the frame back to its position by aligning the strips on the frame with the strips on the wall and attaching those strips together.
Method 3: How to Hang Pictures Without Nails Using Furniture & Hanging Hardware
There are different types of furniture that are pretty effective in hanging pictures. Such furniture can improve your interior decor, especially if it can blend easily with other types of furniture that might be in your home.
Photo Display Rack
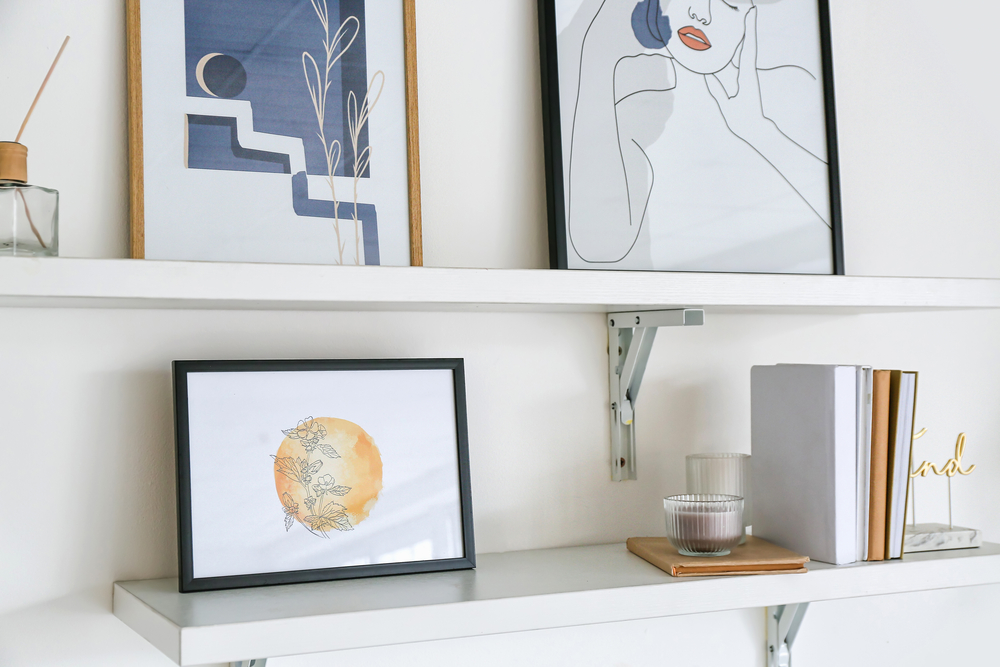
A photo display rack can help you hang different pictures in your home.
However, you have to opt for a photo display rack, depending on the size of the room that you are planning to put it in. If you have enough space in your home for some extra furniture and lots of pictures to hang, you should opt for a large photo display rack.
While photo display racks are available in varying sizes, most do not occupy considerable space in multiple rooms. Apart from that, such racks are available in different designs, offering you various options to choose from, depending on your personal preferences.
Moulding
While picture mouldings might not be as popular as they used to be, they can still help you hang art in your home. Picture moulding is made from a timber frame that has a width ranging from 3.5 cm to 6.5 cm. A picture moulding is usually installed just a few centimetres above the window pane and a few centimetres just below the ceiling, offering you enough space to hang art or your favourite pictures.
No Nails, No Wall Damages!
And that’s our guide on how to hang pictures without nails.
While most homeowners like using nails to hang artwork or pictures, such nails can damage walls.
Hanging picture frames without nails and hanging paintings without nails save your wall from various defects. Not to mention, most picture hanging tools are designed to protect your walls. For instance, a command strip comes with an adhesive that doesn’t stain walls. With such tools, hanging art and pictures becomes quite easy. Whether you are planning to pictures or paintings on a textured wall or a smooth wall, there is always an alternative tool/technique.

Ian loves everything that revolves around the home improvement niche. He loves trying out new home appliances. He has also handled a lot of equipment and has a lot of insight. Plus, he’s worked on various home improvement projects that became a success. If Ian isn’t busy working on his latest project, you can find him reading up about another one!