Last Updated on January 10, 2023
Looking for a new way to get creative or have some leftover fabric from your projects you want to experiment with? Then try making your pillows or throw pillows from scratch.
In this guide, you’ll learn how to make a pillow even if you’re an absolute beginner. All you need to do is follow the step-by-step instructions and techniques presented in this sewing tutorial.
Let’s get started!
Why You Should Make a Pillow
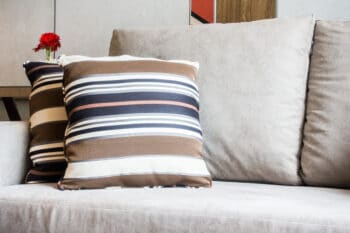 You likely already have at least one pillow in your home, but you can always have more of these things to decorate your living area or add more comfort when you’re sleeping. Whether you want to keep the pillow on your bed or next to each other on the sofa or couch, they can add character and warmth to your home.
Not to mention that making your pillows lets you determine the size, shape, colour, fabric and design of your choosing. So you can try our various pillow ideas and experiment with unique patterns for truly unique pillows that look entirely different to everyone else’s.
Moreover, making your pillows gives you time to focus on your creativity and mental health. This is important for reducing screentime.
How to Make a Pillow: Step-by-Step Guide
What You’ll Need:
- Fabric
- Pillow form
- Thread
- Pins
- Scissors
- Polyester filling
Step 1: Cut the Fabric Into Sizes
Cut out two squares of material for the back pieces and front of the pillow cover. Ensure that the squares are cut to the same size and don’t add any seam allowances. The average pillow cover is 18 x 18 inches, making sure that the loose fabric cutting is only this size. Using a pin, mark the bottom edges of the fabric to keep track.
Step 2: Sew a Long, Straight Stitch
Precisely 3/8 inches from the bottom edge, sew a long, straight line. This step will show where you need the pieces of fabric to be sewn once the pillow is closed. Pin the front and back fabrics together.
Step 3: Sew Each Piece of Fabric Together
Use a 1/2 inch seam allowance to sew one piece of fabric to the other, beginning at around two inches from the corner on the bottom edge. Stop at two inches from the last corner, and leave an opening for the pillow.
Step 4: Trim the Corners
To remove bulk, trim all four corners at an angle, ensuring that you don’t cut too close to the stitching and undo all of your work.
Step 5: Finish Up the Pillow
For the final step, you want to perfect your DIY pillows, ensuring that you’ve removed all pins that were used as a guide for cutting and sewing. Then, turn the pillow inside out so it’s displayed the correct way. Insert the pillow form, and add some polyester fibre fill to pad out the corners. Finally, fold the fabric from the bottom edges over 1/2 inch, and pin the two bottoms together.
How to Make Pillow Filling
What You’ll Need:
- Fabric
- Poly-fil
- Thread
Step 1: Measure the Pillowcase
Begin by measuring the dimensions of the pillowcase. Then, use a ruler and pen to make these measurements onto fabric and cut them. If you’re taking the sizes on a completed pillow, ensure that you add an inch to the width and length for a seam allowance.
Step 2: Leave an Opening
Place four sides together, and leave a four-inch opening for the filling. Place the poly-fil inside the case, and sew the edges for a tidy and finalised look on your pillow forms.
How to Measure Fabric for Your Pillow
Step 1: Position the Pillow Filler
Place the pillow filler onto a piece of furniture. Measure and record the width from left to right and the top to bottom. Generally speaking, measurements are written as width by length and show the position of the cushion for good closer placement. A pillow listed as “30 by 17” means that it’s 30 inches from one side to the other side and 17 inches from top to bottom.
Step 2: Measure the Pillow Cover’s Width
Measure the pillow cover from the side seam to the other side seam and the length from the top seam to the bottom steam. Add space of around 1/2 inches around the edge and trim the fabric to your measurements using scissors. When you insert the cording, ensure that the allowance is the same width as that of the welt flange.
Step 3: Establish a Straight Line
Ensure that you’ve got a straight line from the side or bottom of the cushion. Draw a line on the inside of the fabric and mark a 90-degree corner from this line. Then, measure diagonally from each corner within these lines to ensure that all of the measurements are equal for a matching pillowcase.
Step 4: Cut the Fabric
When cutting the fabric, ensure that you use scissors following the design and not the grain if you’re using a printed fabric. Centre the pattern and cut on this line to ensure that you’re project looks tidy when on display in your home. Alternatively, if you’re using plain fabric pieces, you needn’t worry about cutting over a design.
Essential Tips for Making Pillowcases
If you’re a beginner in this pillow-making project, here are some valuable tips to guide you in using the best technique:
- Use a blunt tool when turning out the pillow’s corners.
- Use a sewing machine to sew double row stitches all around.
- To reduce bulk before turning, clip the pillow’s corners.
- To help your pillow maintain its shape, make your pillow form around one inch smaller than your pillowcase.
Choosing the Right Fabrics
There are so many types of fabric to use for your bed pillows or throw pillows, but which material should you choose? Should you choose easy-to-clean pillow fabrics? Or is it best to prioritise materials that are gentle on your skin?
Silk
For the most luxurious and long-lasting pillow and pillowcase ideas, choose a silk fabric. This is ideal for bedrooms and is exceptionally versatile while remaining gentle and cool on your skin whilst you sleep. However, this material requires a lot of maintenance, so you might want to avoid it if you have children or pets.
Canvas
Perhaps the best material for a pillow project is canvas, which is a strong cotton fabric. In fact, it’s weather-resistant and durable. Plus, this type of fabric usually comes in vibrant colour pieces. In particular, PVC fabrics make an excellent selection for outdoor use.
Cotton and Linen
If you’re researched many pillow tutorials for materials, you’ve likely found that cotton and linen are popular ones. They contain natural fibres, which is ideal for sensitive skin. Besides, both cotton and linen are cool, which is great for preventing you from getting too hot when using your DIY pillows during summer nights.
On the other hand, bear in mind that linen tends to crease easily, which might not make it a great addition to a living room on a sofa but works best in the bedroom. Additionally, you should be aware of colour fading from both cotton and linen, so keep the pillows away from direct sunlight, such as near an open window.
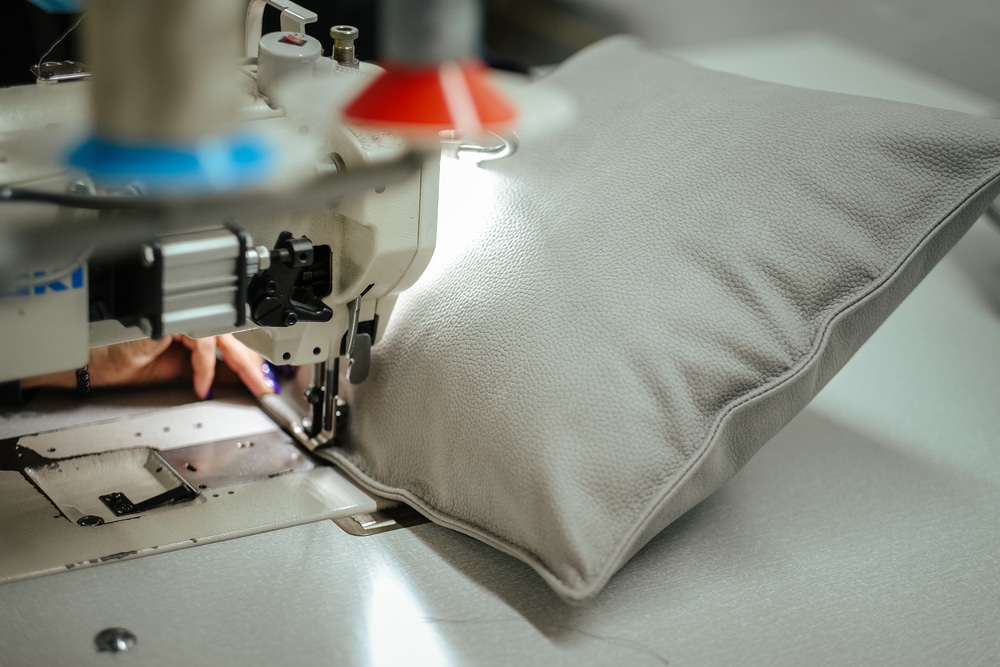
How to Make Pillows Using a Sewing Machine
Learn how to make throw pillows or bed pillows at home the easy way with these tips.
Flatten Your Fabric
Before reaching for the machine, ensure that you flatten your fabric beforehand. Place your hands on the fabric and press down to smooth out any crinkles, or reach for an iron if you can’t do it by hand.
Check the Thread Count Before You Start
There’s nothing worse than running out of thread when you’re in the middle of sewing things. So, before beginning projects, check that there’s enough thread on the bobbin. Otherwise, you’ll have to stop in the middle of the job and add more thread to the machine, which can result in a messy zig-zag stitch.
Take It Easy
We get it. You’re in a rush to complete and use your new pillow. But sewing pillows is similar to driving a car: take it steady. Never suddenly push down all the way, as you can completely lose control of your stitching technique. Instead, opt for slow manoeuvres to learn at a comfortable pace until you’re ready to pick up the speed. Furthermore, many of the best sewing machines feature a speed control button, which allows you to set the desired speed. This feature is great for beginners.
Keep Your Sewing Machine Clean
You can’t expect great results from your sewing machine if it’s in poor condition. Look after the unit and check for pieces of fluff as well as listening out for an unusual noise level (which is a sign that something isn’t quite right). You may also want to cover your sewing machine when not in use to protect it from dust.
Making Pillows at Home
Getting creative with a sewing project is great for your mind and gives you something to take pride in. Learning how to make a pillow is one example of that.
If you’ve started making your own pillows at home using this sewing tutorial as your guide, tell us about your experience. Also, do share your best sewing tips and tricks in the comments.
Amy is a U.K.-based writer and editor with a penchant for helping consumers find the best home products for their needs, as well as providing easily digestible guides for living better at home. Her dedication to her work means she can usually be found elbow-deep in research or hunting down samples of the latest and greatest on behalf of her readers.
An avid DIYer herself, Amy’s passion lies in teaching others how they too can achieve their dream homes by tackling some of those pesky projects themselves! Whether it’s building furniture from scratch or turning an old dresser into a coffee table, Amy is always happy to share what she knows about making your house feel like home without spending a fortune.