Last Updated on January 10, 2023
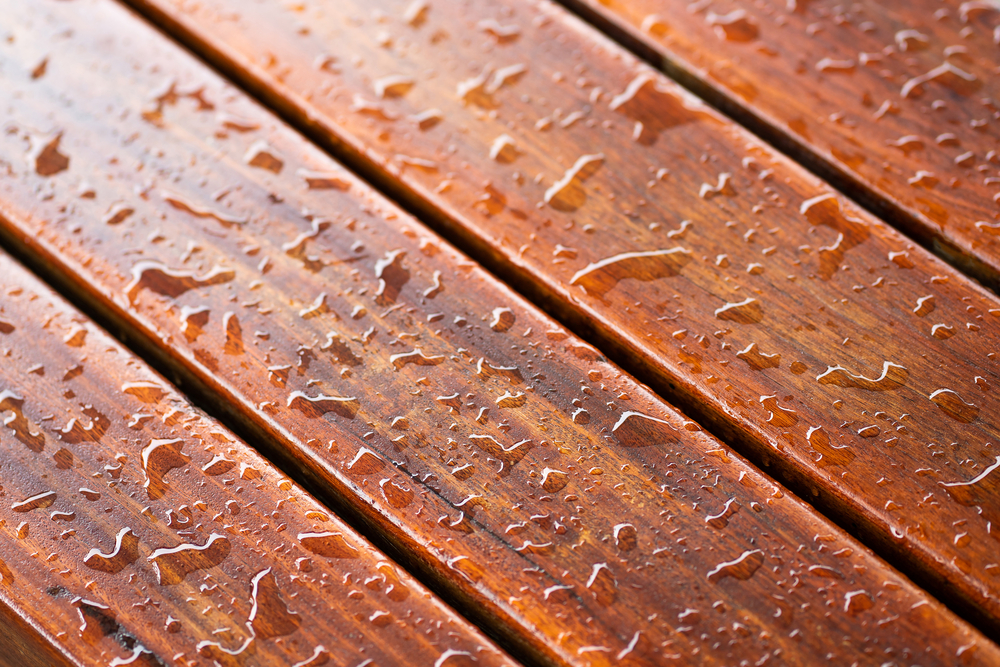
It is virtually impossible to get water-resistant wood without some type of waterproof treatment. Often, if you want to purchase an item like wooden garden furniture, decking, or fencing, weatherproofing comes at an additional expense.
As a result, it is usually cheaper to do this yourself afterwards! If you have wooden items that need treating, we have created a guide on how to waterproof wood detailing three common methods.
Why Waterproofing Wood is Important
Before looking at the different methods of waterproofing wood, you must understand why this is an important process. Any wooden surfaces and outdoor furniture, if left untreated, are susceptible to weather damage. This is because they are natural materials. The following are some common issues that untreated wood can experience outdoors:
- Mould infestation from exposure to water and moisture.
- The wood will also eventually rot and crumble from water damage.
- Wood can also swell, move, and lose its shape from excess moisture content.
- Water can also leave nasty watermarks on the wood and ruin its finish.
As you can see, these are serious issues. Mould and rot are the worst offenders and will essentially reduce the wood to nothing over time. The mould and rot will dissolve the wood and cause it to crumble.
These are serious issues that affect the integrity and safety of your wooden furniture. For example, if you have wooden decking that has rotten patches, this could be a potential safety hazard, and people could potentially fall through the decking.
Other issues are more cosmetic, such as watermarks and swelling.
It is possible to treat these issues to some degree and fix water-damaged furniture. However, the best course of action is to weatherproof wood and use one of the three methods below. By waterproofing outdoor furniture, you can prevent any of the above issues from happening.
How to Waterproof Wood – Three Simple Methods
When looking at how to waterproof wood furniture for outdoors, there is one main process. The wood structure and makeup itself can never be waterproof – it’s natural and will always be affected by the elements.
As a result, you have to coat the surface of the wood with a protective layer so that the water cannot penetrate inside. This can be done using three common substances – wood oils, wood sealant, or an oil-based stain. We discuss each waterproofing wood method below:
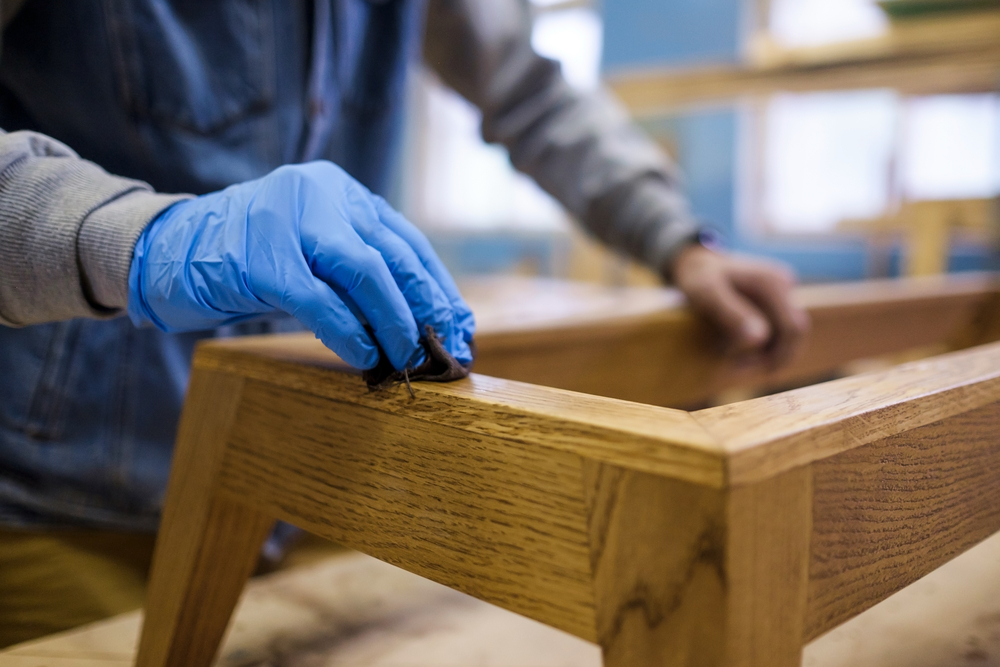
Method 1: Using Protective Wood Oil
One of the best methods to use for weatherproofing wood is using a protective wood oil. Several common types of wood oils are available, including walnut oil, linseed oil, and tung oil. These all have protective properties and bring out depth and colours to your wood’s surface. Also, these oils are generally eco-friendly and penetrate deep into the wood for maximum protection.
Equipment
- Linseed oil, tung oil, or walnut oil
- Thick sandpaper
- A pile of lint-free rags
- Rubber gloves
- Turpentine and apple cider vinegar (optional)
The Process
Generally, before using any waterproofing oil, you must first prepare the wood and ensure it has a smooth surface. This process helps remove any imperfections and make sure that the oil can combine better with the wood. The following is the basic process for using oils:
- Use thick sandpaper to sand the entire surface you wish to treat.
- Once sanded, brush away any excess sawdust and debris.
- Make sure the wood is dry before applying the oil.
- Pour a small amount of oil onto a clean rag.
- Rub the oil with the wood grain and work it into the dry surface.
- Make sure the oil is evenly applied and no pools are left.
- Allow the first coat to dry for a minimum of 30 minutes.
- After 30 minutes, wipe with a clean cloth to remove any excess oil.
- Allow the first coat to dry for 24 hours.
- Repeat the process and add two extra coats to complete the wood waterproof process.
This is a relatively simple process, but more time is required because natural oils take longer to dry and cure the wood. Once you have applied the final coat, you should not use or touch the wood surface for several days to cure it properly.
Considerations
Items like raw tung oil and linseed oil are some of the best options for waterproofing wood. However, they are also far more expensive than simple sealants and wood stains.
As a result, oils are generally better suited for smaller wood projects like small items of furniture. We would not recommend using wood oils for larger projects like entire garden fences or a wooden deck. Stains and sealants are far more cost-effective for projects like these.
Method 2: Using Wood Sealants
The next method is using a wood sealant. Wood sealers are fantastic for larger pieces of furniture, fences, garden sheds, and decking, for example, because they are far more cost-effective than oils.
Sealants are also generally more specialized and easier to purchase. This is because they are typically split into categories. For example, you may find fence sealant, deck sealant, or floor sealant. Essentially, you can often find a specific type of sealant to match the type of wood you want to weatherproof.
Often, sealant also offers UV protection, and you can get a special marine wood sealant if you need it to withstand conditions with high humidity.
Equipment
- Wood sealant
- Sandpaper
- Brush
- Steel wool
The Process
Using a wood sealer is another simple process, and this is often quicker than using something like boiled linseed oil. This is because the curing and drying times are much quicker. The following is the basic process for using sealant:
- Use sandpaper to remove any previous finish and to smooth the wood surfaces.
- Clean the surface and remove any sawdust and debris.
- Prepare your wood sealant and paintbrush or sprayer.
- Apply an even coat of sealant to the entire surface.
- Check the sealant’s instructions, and allow the wood sealer to dry (generally 4-10 hours).
- Clean the initial coat using either steel wool or fine-grit sandpaper.
- Apply a second and third coat using the above process as required.
- Once the third and final coat is applied, let the item cure for several days before using it.
Like using raw linseed oil, it is vital that you allow the sealant and wood surface to cure and dry sufficiently. If you attempt to use or touch the waterproof wood finish before it is cured properly, you could tarnish the finish and reduce its effectiveness.
Considerations
There are several considerations to make when looking at how to make wood waterproof using sealant. Firstly, the number of coats required varies depending on the type of wood. Usually, softwoods require two to three coats. In contrast, some hardwoods only require a single coat.
Examples of popular softwoods include pine, cedar, balsa, yew, and redwood spruce. Alternatively, popular hardwoods include hickory, oak, walnut, and beach.
Aside from the type of wood, also pay attention to the type of sealant and the object you wish to treat. As mentioned above, you can usually buy specific stain sealers for different objects. For example, you can buy furniture sealant and deck sealant. Where possible, it is preferential to use the correct sealant type that matches the object you wish to weatherproof.
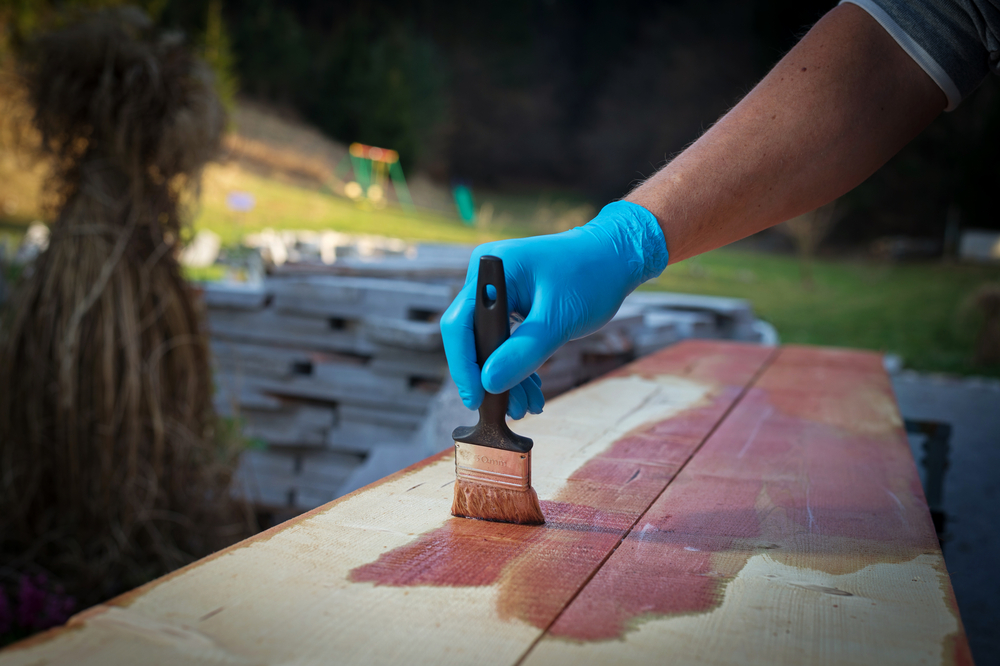
Method 3: Using a Wood Stain
If you want weatherproof wood in a cost-effective way, using a wood stain is one of the best options. A wood stain helps prevent rot and mould and can also protect exterior wood from moisture and sun damage.
You can also get different colour wood stains if you wish to add a dash of colour to your outdoor furniture. However, wood stain does not generally last as long as sealant or wood oils. As a result, you may have to reapply the stain every few years to maintain the protection.
A wood stain is a brilliant option for large surfaces like decking and fences due to its ease of use and low cost.
Equipment
- Sandpaper
- Wood stain
- A Brush
- Thick rubber gloves
The Process
- Sand the surface beforehand to remove any imperfections.
- Once sanded, wipe the surface to remove any debris.
- Ensure the wood is dry before applying the stain.
- Apply the wood stain on the whole surface and give it an even coat.
- Allow the initial coat to dry for the minimum specified time on the tin instructions.
- Once dried, use fine sandpaper to remove any excess stain.
- Use a dry cloth to clean the surface, ready for a second coat.
- Apply a second and third coat using the above steps and allow sufficient drying time.
You generally do not need to use any steel wool in-between coats. However, each successive coat you apply will take longer to try. Always make sure you allow sufficient drying time and never rush the process.
Considerations
There are fewer considerations to make when using stains. You can use wood stain on any type of wood. Make sure that you have read the instructions carefully. These will give details on drying times and the number of required coats.
Also, you should consider that wood stain does not last as long for outdoor use. Therefore, you may have to reapply more stains every few years.
Weatherproofing Wood FAQs
Will Painting Wood Make It Waterproof?
This depends on the type of paint. If you are using standard decking paint or wood stain, probably not. You need to check the description of the paint/stain to see if it specifically states that it has waterproofing / weatherproofing capabilities.
Will These Waterproofing Methods Last Permanently?
Not permanently. Most stains, oils, and sealants have a limited lifespan. However, in most instances, they give an incredibly durable finish and will protect the entire surface of your wood from water for many years – even decades, depending on the quality and type.
Can You Waterproof Any Type of Wood?
Generally. yes. Virtually any type of wood will accept a waterproof wood finish and can be weatherproofed.
Protect Your Wooden Furniture and Features From Water Using These Methods
Having wood features in your house and garden can add a dash of style and elegance to your home. For example, things like wooden decking, a patio deck, wooden fences, and summer houses can all look fantastic.
However, over time, untreated wood will naturally succumb to the elements and degrade. If continually exposed to water, for example, wood will eventually rot and lose its integrity. As a result, it is vital that you protect wood from water. As you can see from the above, there are three simple methods for sealing outdoor wood. Whether you prefer to use wood oil, sealants, or wood stain, make sure you make this a priority to prevent damage to your wooden features!
Paul is the type of person who never met a problem he couldn’t fix. He can always be found tinkering with something in his house, even if it isn’t broken! His tips and tricks are often shared on our site. He’s the one you call when something breaks because he has been known to improvise fixes for everything from leaky faucets to malfunctioning dryers.