Last Updated on February 13, 2023
Are you trying to figure out the answer to, “why is my steam cleaner not heating up?” It’s a common problem that many of us have faced at some point, and it can be frustrating when the solution is not clear. Don’t worry – in this blog post, we’ll take a look at my steam cleaner not heating up the issue and explore the possible causes, as well as provide helpful troubleshooting tips so you can get back to cleaning. From diagnosing faults to regular maintenance advice, we’ve got everything covered here. So if your trusty machine has stopped working like it used to – read on for answers.
Table of Contents:
- What Causes Steam Cleaner Malfunction?
- How to Diagnose a Faulty Steam Cleaner?
- How to Troubleshoot a Non-Heating Steam Cleaner?
- What Are the Benefits of Regular Maintenance?
- What Are Some Common Replacement Parts?
- Conclusion
What Causes Steam Cleaner Malfunction?
Steam cleaners are a popular choice for cleaning and sanitizing surfaces in the home. However, like any appliance, they can malfunction due to wear and tear or improper use. Common causes of steam cleaner malfunction include clogged hoses, faulty heating elements, blocked filters, and worn-out seals.
Clogged hoses can be caused by debris, such as dirt or lint, that gets stuck inside the hose over time. This prevents steam from passing through properly and reduces its effectiveness. To prevent this from happening regularly, it is important to clean out your hose after each use with a damp cloth or vacuum attachment.
Faulty heating elements are another common cause of the steam cleaner malfunction. The element may become damaged due to age or overuse, which will prevent it from producing enough heat for proper steaming action. If you notice that your steam cleaner isn’t getting hot enough, then it is likely an issue with the heating element, which should be replaced by a qualified technician if possible.
Blocked filters can also lead to problems with your steam cleaner since they trap particles that could otherwise pass through the system without causing any damage. It is important to check your filter periodically for blockages and replace them when necessary in order to keep your machine running smoothly and efficiently at all times.

Finally, worn-out seals on certain parts of the machine may cause leaks which reduce efficiency while increasing energy costs as well as water wastefulness; both of which should be avoided whenever possible. Regular maintenance checks should help identify these issues before they become too serious, so make sure you schedule one every few months just in case something goes wrong unexpectedly.
Faulty steam cleaners can be caused by a variety of issues, ranging from clogged nozzles to damaged heating elements. To properly diagnose the issue and determine the best course of action, it is important to understand how to identify potential causes. Let’s take a look at how you can diagnose your faulty steam cleaner in the next section.
How to Diagnose a Faulty Steam Cleaner?
Diagnosing a faulty steam cleaner can be tricky. But with the right knowledge and tools, you can quickly identify any issues that may be causing your machine to malfunction. Here are some tips on how to diagnose a faulty steam cleaner:
1. Check for Overheating
One of the most common signs of an overheated steam cleaner is when it stops producing hot water or steam after only a few minutes of use. If this happens, unplug the unit immediately and let it cool down before attempting to use it again. Also, check for any visible signs of damage, such as melted plastic or scorch marks on the outside of the unit, which could indicate an internal issue with heating elements or wiring connections.
2. Look for Water Leakage
Another sign that something might be wrong with your steam cleaner is if there’s water leaking from its base or other parts while in operation. This could mean that there’s a problem with one of its seals, hoses, valves, or even its boiler tank itself, so make sure to inspect these areas carefully and replace any worn out components if necessary.
3. Listen For Unusual Noises
Pay attention to any strange noises coming from your machine while in use, as they could indicate an underlying mechanical issue, such as loose screws or worn-out bearings inside its motor housing which need replacing soon before they cause further damage to other parts within the system itself.
4. Check The Pressure Gauge
If you notice that your pressure gauge isn’t reading correctly, then this could mean there’s either too much air trapped inside the boiler tank (causing low pressure) or not enough (causing high pressure). To fix this issue, simply release some air through its valve by pressing down on it until you hear a hissing sound and then re-check the gauge afterwards – if all goes well, then everything should now read correctly.
Finally, run through all of your usual cleaning tasks using different settings on both low and high power levels. Doing so will help you determine whether anything else needs adjusting internally before continuing normal usage again. It is also important to note that regular maintenance should always be carried out at least once every 6 months in order to ensure optimal performance over time.
It’s important to understand the basic components of a steam cleaner and how they work together in order to diagnose any faults. In the next section, we’ll discuss how to troubleshoot a non-heating steam cleaner.
How to Troubleshoot a Non-Heating Steam Cleaner?
If your steam cleaner is not heating up, it can be a real hassle. But don’t worry – there are some simple troubleshooting steps you can take to get it back in working order.
First, check the filter of your steam cleaner for any blockages or dirt buildup that could be preventing the flow of hot air and water. If necessary, remove the filter and clean it with warm soapy water before replacing it.

Next, make sure that the power supply is connected properly and securely to both the wall outlet and your steam cleaner unit itself. Check for any loose connections or frayed wires, which may need to be replaced if they are damaged beyond repair.
Thirdly, inspect all hoses on your machine for any signs of wear or tear as these can cause leaks which prevent proper operation of your device. Replace any worn out parts immediately to ensure optimal performance from your machine.
Finally, check all settings on the control panel, such as temperature levels and cleaning modes, to make sure they are set correctly according to manufacturer instructions. This will help ensure that everything is running smoothly without interruption during use.
Regular maintenance is key when it comes to keeping your steam cleaner in top condition. Make sure you empty out its tank after each use and give its exterior surfaces a quick wipe down with a damp cloth every now and then, too; this will help keep dust at bay while also ensuring that no grime builds up over time which could potentially damage components inside the machine itself. Common replacement parts include filters, hoses, tanks/containers for storing water, brushes/nozzles for scrubbing, as well as other small accessories like extension cords etc., depending on what type of model you have purchased originally.
By following these troubleshooting steps, you can identify and fix the issue of a non-heating steam cleaner. To ensure your appliance works properly for longer, it is important to consider regular maintenance to keep it in good condition.
What Are the Benefits of Regular Maintenance?
Regular maintenance of steam cleaners is essential for optimal performance and to prevent malfunctions. It’s important to keep the machine clean, as dirt and debris can build up over time and clog filters or cause other problems. Regularly cleaning out any lint traps or filters will help ensure that your steam cleaner runs smoothly.
It’s also a good idea to check the hoses, cords, and attachments regularly for signs of wear or damage. Replace any worn parts immediately so they don’t become bigger issues down the road. If you notice any fraying on the cord, it’s best to replace it before it causes an electrical hazard in your home.

In addition to checking for physical damage, you should also inspect all seals and gaskets on a regular basis too. These are designed to keep water from leaking out during use, but if they’re not properly maintained, then leaks can occur, which could lead to more serious problems such as water damage in your home or even electrocution if used near outlets with electricity running through them.
Finally, make sure that you read through the manual carefully when using a new steam cleaner so that you understand how each part works together correctly. This will help avoid potential problems down the line due to incorrect usage of certain features like temperature settings, etcetera. Doing regular maintenance checks will save time and money by preventing costly repairs later on down the road, as well as providing peace of mind knowing that everything is working safely as intended.
Regular maintenance of your steam cleaner can help to extend its lifespan and ensure it is functioning optimally. In the next section, we will discuss some common replacement parts that you may need for your steam cleaner.
What Are Some Common Replacement Parts?
When it comes to steam cleaners, there are a few common replacement parts that you may need to purchase at some point. The most important of these is the heating element, which is responsible for generating the hot steam used in cleaning. If your cleaner isn’t producing any heat or has stopped working altogether, then this could be an indication that the heating element needs replacing. Other common replacement parts include hoses and filters. Hoses can become worn over time and need replacing if they start leaking or have holes in them. Filters help keep dirt and debris out of your machine, so they should also be checked regularly and replaced when necessary.
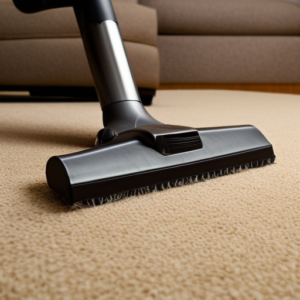
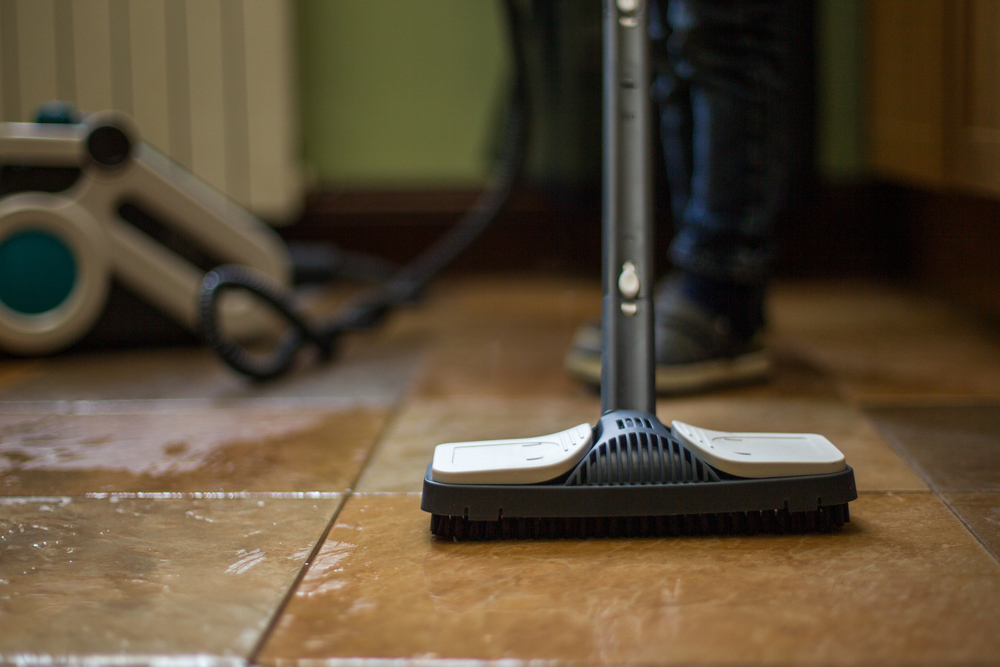
Another part you may want to consider purchasing as a spare is a brush head attachment for scrubbing surfaces such as tiles or grout lines. These attachments come in various shapes and sizes depending on what type of surface you’re trying to clean, so make sure you get one that’s suitable for your particular model of cleaner before buying it. Finally, some models require special detergents or solutions specifically designed for use with their machines – make sure you check the manufacturer’s instructions carefully before using anything else.
Conclusion
In conclusion, it is important to understand the common causes of steam cleaner malfunction and how to diagnose a faulty machine. If your steam cleaner isn’t heating up, then you should troubleshoot the issue by checking for blockages or worn-out parts. Regular maintenance can help keep your machine running smoothly and reduce the risk of costly repairs down the line. If replacement parts are needed, make sure to check for compatible models before purchasing them. Hopefully, this article has helped you find an answer to the “why is my steam cleaner not heating up” issue.
Paul is the type of person who never met a problem he couldn’t fix. He can always be found tinkering with something in his house, even if it isn’t broken! His tips and tricks are often shared on our site. He’s the one you call when something breaks because he has been known to improvise fixes for everything from leaky faucets to malfunctioning dryers.

