Last Updated on February 7, 2023
Are you interested in learning how to connect a weather station to the wifi? With just a few simple steps, you can have your own personal meteorologist. No more worrying about what the forecast says – with this setup, you’ll be able to get accurate readings from your very own backyard. In this blog post, we will discuss what tools are needed for connecting a weather station to the wifi and provide step-by-step instructions on setting up your router and connecting it all together. We’ll also include some tips on testing out your connection so that everything is running smoothly before relying on it as an official source of data. So if you want to access real-time information straight from nature itself – read ahead, and let’s learn how to connect a weather station to the wifi.
Table of Contents:
- What You Need to Connect a Weather Station to the Wifi
- Setting Up Your Router
- Connecting Your Weather Station
- FAQs in Relation to How to Connect a Weather Station to the Wifi
- Conclusion
What You Need to Connect a Weather Station to the Wifi
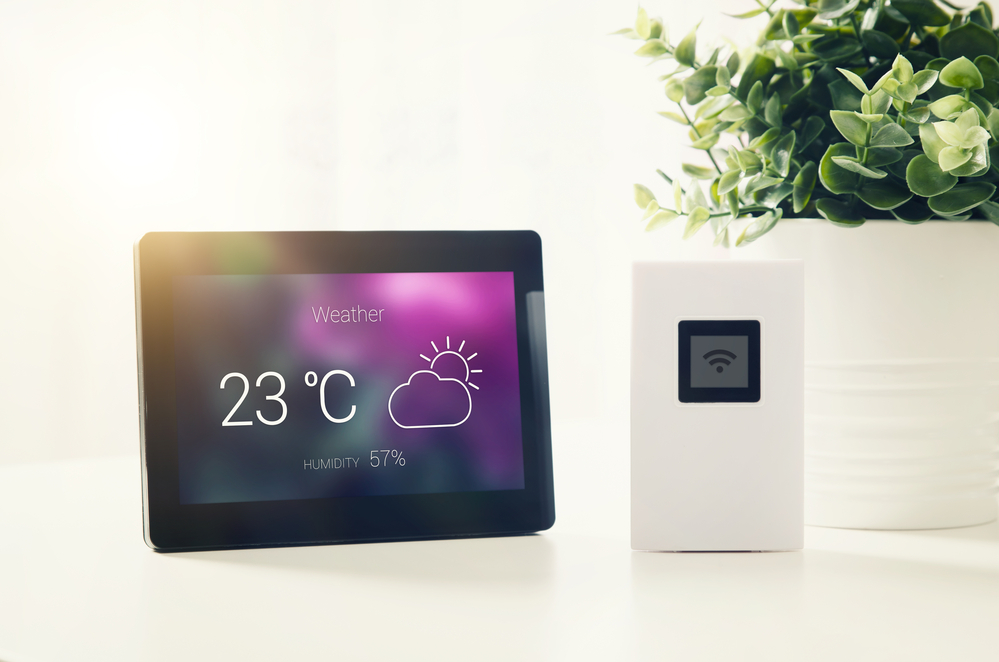
Connecting a weather station to the wifi is an easy and convenient way to monitor your local environment. All you need are a few items, such as an internet router, a weather station, and any other necessary components.
To get started, first, you will need an internet router that is capable of connecting to the wifi network in your home or office. This can be done by either purchasing one from your local electronics store or using one provided by your Internet Service Provider (ISP). Once connected, ensure it’s properly configured with the weather station.
Once you have all the necessary items, you can set up your router so that your weather station is connected to the wifi.
Setting Up Your Router
Setting up your router for a weather station connection is not as difficult as it may seem. It’s important to know the model of your router before you begin so that you can follow the correct instructions.
First, locate and plug in your router. Make sure it is close enough to the weather station for a strong signal. Then connect an Ethernet cable from the modem to the WAN port on your router. This will allow internet access through your network.
Next, power on both devices and wait until they are fully connected and ready to use. Once this has been done, open a web browser on any device connected to the same network as your router and type in its IP address into the URL bar at the top of the page – this should be provided with an instruction manual or printed onto a label located somewhere on your device itself if necessary.
Once logged into your account settings, look for ‘Wireless Settings’ or ‘Network Setup’ options depending on which model you have purchased; here, you will need to enter details such as SSID (network name) & password/key (security code). You can also change other settings such as encryption type or frequency band if desired but these are usually set correctly by default when first setting up a new system, so don’t worry too much about them unless instructed otherwise by customer support staff etc. After entering all required information, click ‘Save’, then exit out of setup mode once complete – this should now enable wireless connectivity between both devices.
Finally, check that everything is working properly by connecting another device, such as a laptop/tablet/smartphone etc., via Wi-Fi using the same credentials entered earlier. If successful, congratulations. Your home weather station is now connected successfully over wifi allowing data transfer between each component without needing additional cables or wires running around the house, which could potentially cause interference issues later on.
Connecting Your Weather Station
Connecting your weather station to the wifi is a great way to keep track of the current and upcoming weather conditions in your area. It’s also an easy process that only requires a few steps.
Once everything is set up properly with your router, it’s time for the final step – connecting your weather station. Start by plugging in its power adapter into an outlet near where you want it located (this should be close enough so that there are no obstructions between it and any nearby wireless networks). Then take out any antennas included with the unit and point them towards any available wireless networks within range (you may need to adjust their direction slightly until they are pointed directly at one). Finally, turn on both devices -the router and weather station-and wait for them both to establish the connection before moving on to other tasks or activities around home or garden projects related topics.
FAQs in Relation to How to Connect a Weather Station to the Wifi
How do I set up my weather station?

Setting up a weather station is relatively straightforward. First, you need to choose the right location for your station. Place it in an open area away from trees and buildings, as these can affect readings. Next, mount the sensors securely and connect them to the main unit according to manufacturer instructions. Finally, install batteries or plug in a power source if required and turn on the device. You should now be able to access real-time data on temperature, humidity and other conditions from your own personal weather station.
How do I connect my AcuRite weather station to Wifi?
Connecting your AcuRite weather station to Wi-Fi is a simple process. First, ensure that you have the necessary hardware and software installed on your device. Next, download the free AcuLink app from either Google Play or Apple App Store onto your mobile device. Then, open the app and follow the instructions to connect your weather station to Wi-Fi. Finally, enter any required information, such as network name and password, before completing the setup process. Once connected, you can access all of its features remotely via Wi-Fi.
How do I connect my La Crosse weather station to Wifi?
First, ensure that you have an active internet connection and the latest version of the La Crosse View app installed on your device. Next, open the app and select ‘Add Device’ from the menu. Follow the instructions in the app to connect your weather station to Wi-Fi. Finally, once connected, you can view real-time data from your station directly on your device or online via their website. With this guide, connecting your La Crosse weather station should be quick and easy.
How do I reset my ambient weather station Wifi?
Resetting your Ambient Weather Station Wi-Fi is a simple process. First, locate the reset button on the back of the device. Press and hold it for 10 seconds until you hear a beep sound indicating that it has been successfully reset. Next, connect to your home network by entering your Wi-Fi credentials when prompted. Finally, open up the Ambient app or website to finish setting up your station and monitor weather conditions from anywhere.
Conclusion
Now that you have connected your weather station to the wifi, you can enjoy all of its features and benefits. With a few simple steps, you can now access real-time data about the temperature, humidity and other environmental conditions in your home or garden. Connecting a weather station to the wifi is an easy process and one that will provide many years of reliable service. So why wait? Get started today and start enjoying all the advantages of having a connected weather station.
Paul is the type of person who never met a problem he couldn’t fix. He can always be found tinkering with something in his house, even if it isn’t broken! His tips and tricks are often shared on our site. He’s the one you call when something breaks because he has been known to improvise fixes for everything from leaky faucets to malfunctioning dryers.