Last Updated on January 10, 2023
If you’re looking for an exciting way to entertain students or children, learning how to make a weather station is one of the best STEM activities. This homemade device only requires a few materials and is a great way to give your child a fun and educational project.
You and your kids can observe the weather and climate with a homemade station using the below instructions. We’ve chosen to focus on the more important devices instead of something that you wouldn’t use often.
Wind Vane
This tool will help kids learn about the different directions of the wind.
What You’ll Need
- Big cup with lid
- Straw
- Pencil with an eraser end
- Pin
- Paper
- Glue
Instructions for Making a Wind Vane
- Prepare the cup with a lid.
- Turn it over, so the bottom part is facing up.
- Make a hole and ensure it is centred. The hole should only be big enough to fit a pencil through.
- Label the bottom of the cup with the four directions (NWSE) and set it aside.
- Take a straw and cut parallel slits on each end.
- Insert and glue an arrow point-shaped paper on one side and an arrow end-shaped paper on the other.
- Find the straw’s centre of gravity by balancing it on your finger.
- Place a pin through the centre of the straw and connect it to the pencil’s eraser end.
- Place the straw and pencil contraption through the hole in the cup you made earlier.
- Ensure that it can spin freely.
Anemometer
A homemade anemometer will teach children about wind speed and direction.
What You’ll Need
- Big cup
- 4 Dixie cups
- 4 Straws
- Pencil
- Pin
- Puncher
- Tape
Instructions for Making an Anemometer
- Get the big cup and turn it over, so the bottom part is right-side up.
- Make a hole on the bottom of the big cup and ensure it’s centred. The hole should fit a pencil through. Set it aside.
- Take four dixie cups. In each cup, punch two holes across from each other.
- Make a plus sign with the two straws.
- Poke a pin through the centre of both staws and connect it to the pencil’s eraser end.
- Get a Dixie cup and slide one straw end through the holes. Secure it with tape.
- Repeat this for the other Dixie cups
- Ensure that they’re all facing the same direction around the circle.
- Put the pencil through the hole of the big cup.
- Make sure it can spin freely.
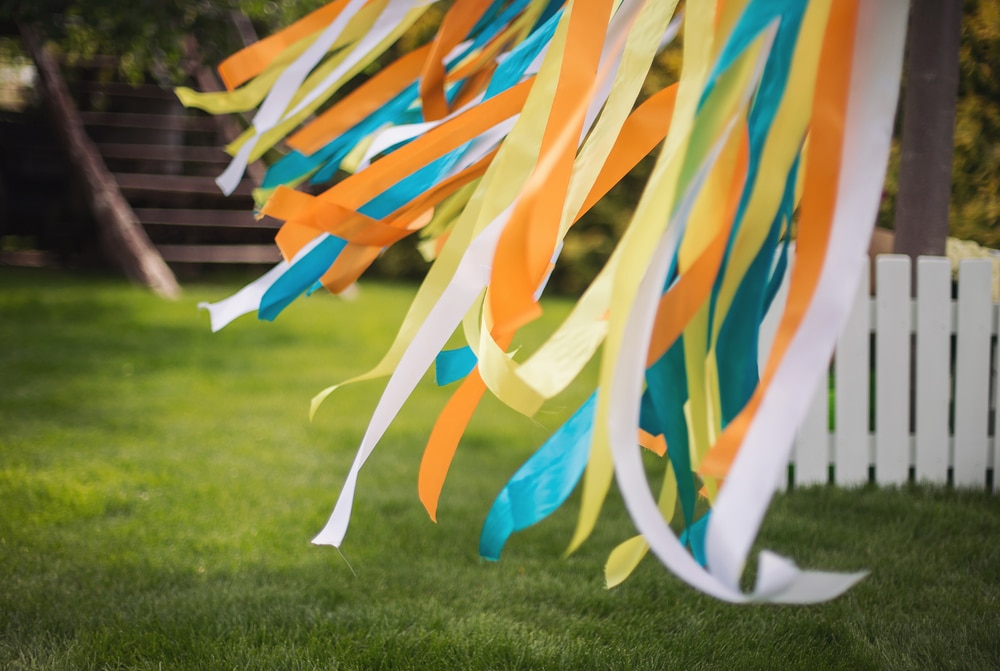
Windsock
A windsock will help children learn about how strong the wind is blowing.
What You’ll Need
- Plastic cup
- Plastic ribbons
- Puncher
- String
Instructions for Making a Windsock
- Take a plastic cup and use the puncher to make holes around the brim.
- Tie lots of plastic ribbons through the different holes to create tassels.
- Cut off the bottom part of the cup.
- On the new opening, use the puncher to make two holes that are across from each other.
- Tie a string through each hole to create a loop for hanging.
- Hook the device somewhere it can hang freely.
View this post on Instagram
Rain Gauge
A rain gauge will teach kids how much rain has fallen over a set amount of time.
What You’ll Need
- 2L plastic bottle
- Masking tape
- Pebbles
- Water
Instructions for Making a Rain Gauge
- Begin by cutting the top off of the plastic bottle.
- Place pebbles, glass beads and water in the bottle to prevent it from blowing over when it’s windy. Make sure to fill only up to the curved bottom of the bottle.
- Turn over the top part of the bottle to form a funnel and place it on the bottle opening.
- Tape the two edges together.
- Tear off some masking tape and stick it to the side of the bottle, so it runs vertically just over the pebbles, beads and water.
- Align a ruler with the masking tape and mark the ruler increments on the masking tape.
Thermometer
A thermometer can teach children how hot or cold it is simply by looking at the water level inside the straw. As the air gets warmer, it’ll rise and then lower as the air becomes cooler. Using this thermometer, place it somewhere cooler, such as a fridge, and take it back out to room temperature to see the water level change.
What You’ll Need
- Plastic Bottle
- Rubbing Alcohol
- Water
- Food colouring
- Eye droppers
Instructions for Making a Thermometer
- Take the bottle and fill it 1/4 of the way with rubbing alcohol.
- Add water until the bottle is at the halfway point.
- Add food colouring so that you can see the water level easier.
- Place a clear straw inside the bottle so that it’s suspended and the bottom end isn’t touching the base of the bottle.
- Anchor the straw with clay, but don’t seal the top end of the straw.
- To prevent any evaporation with this weather chart, use eyedroppers or vegetable oil inside of the straw. It will help the straw to stay afloat.
View this post on Instagram
Where to Place Your Weather Instruments
Once you’ve made your weather vane and entire weather station, it’s time to decide on the best place to position it. The ideal location is in a shaded area without direct sunlight and away from high weather condition impacts such as rain or snow. A north-facing side of a wall is a great position, although you’ll need to consider radiated heat from a nearby building. What’s more, it is better to place your weather station five feet over short grass.
You will also want to place your weather station on flat, black surfaces rather than light-coloured surfaces if you are trying to measure warmer temperatures. Examples of these kinds of surfaces are asphalt and black shingles.
Start Your Weather Station Project
Making a DIY station is a great project for people who want to learn about weather activity, such as analysing the rainfall or climate.
This project offers a budget-friendly alternative to purchasing a rain gauge or anemometer. It also allows you to check the temperature and outdoor weather without buying an entirely new station, as well as letting you customise the instruments.
Learning how to make a weather station can also be a great bonding session for you and your kids. You can check the wind speed and rain gauge with a fun weather station that both children and adults can use.
Have you ever made DIY weather stations? Do you have any tips and ideas on making them? Let us know your thoughts, recommendations, or any other insights in the comments below.
Amy is a U.K.-based writer and editor with a penchant for helping consumers find the best home products for their needs, as well as providing easily digestible guides for living better at home. Her dedication to her work means she can usually be found elbow-deep in research or hunting down samples of the latest and greatest on behalf of her readers.
An avid DIYer herself, Amy’s passion lies in teaching others how they too can achieve their dream homes by tackling some of those pesky projects themselves! Whether it’s building furniture from scratch or turning an old dresser into a coffee table, Amy is always happy to share what she knows about making your house feel like home without spending a fortune.