Last Updated on February 6, 2023
If you’re ready to take on a home improvement project, look no further than fitting a ceramic hob! Installing your own appliance can be daunting but it’s not impossible. Follow our step-by-step guide and learn how to fit a ceramic hob like an expert. From preparing the area for installation to testing and adding those finishing touches, we’ve got everything covered in this blog post so that you can get your kitchen looking as good as new! So let’s get started with learning how to fit a ceramic hob – grab your tools and let’s go!
Table of Contents:
Preparing the Area
Preparing the area for fitting a ceramic hob is an essential step in ensuring that your appliance will be safe and secure. Before you start, it’s important to measure the space where you plan to install the hob. This way, you can make sure that it fits correctly and won’t overhang any of its surroundings.
You should also check for gas and electricity connections before installing your new hob. If there are no existing connections, then you may need to contact a qualified electrician or plumber to help with installation.
Finally, make sure that the surface on which you plan to install your hob is level; otherwise, it could cause problems when cooking or cleaning up afterwards. To do this, use a spirit level and adjust the feet at each corner until they are all even with one another.
Installing the Hob
Installing a ceramic hob is not as difficult as it may seem. With the right tools and materials, you can have your new hob up and running in no time.
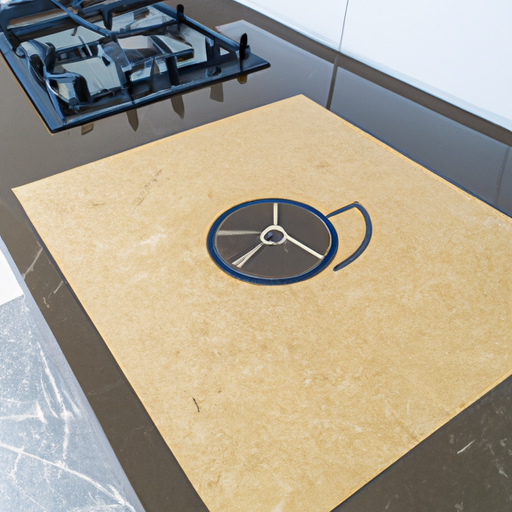
Preparing the Area: Before installing your hob, make sure to clear away any debris or clutter from the area where you will be working. This will ensure that there are no obstructions when connecting the hob to electricity or securing it in place with screws. Additionally, measure out the exact size of your hob so that you know how much space needs to be cleared for installation.
Connecting Electricity: Once everything is cleared away, connect one end of an electrical cable to a junction box on the wall near where your hob will be installed. Then attach the other end of this cable to a socket at the back of your ceramic hob before plugging it into an outlet nearby. Make sure all connections are secure and safe before proceeding further with installation.
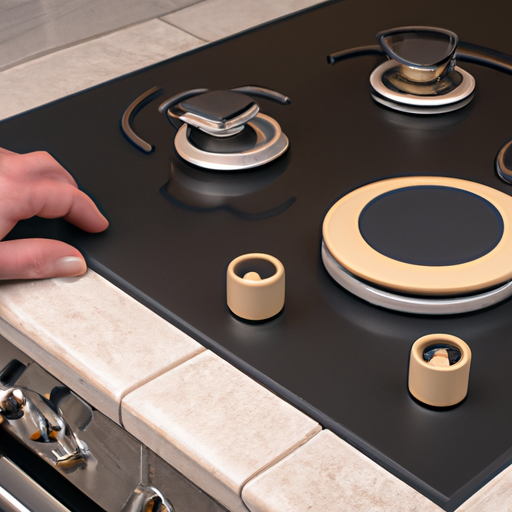
Securing in Place: After making sure all electrical connections are secure, use screws to fasten down each corner of your ceramic hob onto its designated spot on top of kitchen countertops or cabinets (depending on what type of surface you’re working with). Use a screwdriver for added precision when tightening down these screws until they’re firmly secured in place – but don’t over-tighten them either.
To prevent water damage from occurring around edges and crevices between surfaces due to steam produced by cooking food on top of hobs, apply silicone sealant along these areas using a caulking gun for extra protection against moisture buildup over time. Allow enough time for sealant application and drying before testing out your newly installed ceramic hob.
Once you have the hob in place, it’s time to secure it properly and make sure all connections are made correctly before testing and making any final adjustments.
Testing and Finishing Touches
Once you have finished installing the hob, it is important to test that it is working correctly before use. To do this, turn on all of the burners and check for a flame. Make sure that each burner has an even heat distribution and that they are not too hot or too cold. If there are any issues with the temperature control, you may need to adjust the settings on your hob.
It is also important to make sure that all of the connections between your hob and gas supply are secure and tight so as not to cause any potential leaks or fires in future. Once everything has been tested and checked over thoroughly, you can move on to finishing touches such as cleaning up any mess from installation and adding trim around the edges of your hob if desired.
Trim can be found in many different styles depending on what kind of look you want for your kitchen space – whether it’s modern or traditional – so take some time to find something suitable for your home decor style. Additionally, make sure that when applying trim around the edges of your hob there is no gap left between them as this could potentially cause problems down the line due to dust accumulation which could lead to fire hazards if left unchecked.
Finally, once everything has been installed properly with no gaps or loose connections present then you can congratulate yourself – job well done. You now have a safe new appliance ready for use in no time.
Conclusion
Learning how to fit a ceramic hob is an easy job that anyone can do with the right tools and knowledge. With this guide, you should now have all the information you need to fit your own ceramic hob. Remember to take safety precautions when handling electrical appliances, and if in doubt seek professional help. Now go ahead and get cooking with your newly fitted ceramic hob!
Paul is the type of person who never met a problem he couldn’t fix. He can always be found tinkering with something in his house, even if it isn’t broken! His tips and tricks are often shared on our site. He’s the one you call when something breaks because he has been known to improvise fixes for everything from leaky faucets to malfunctioning dryers.