Last Updated on January 10, 2023
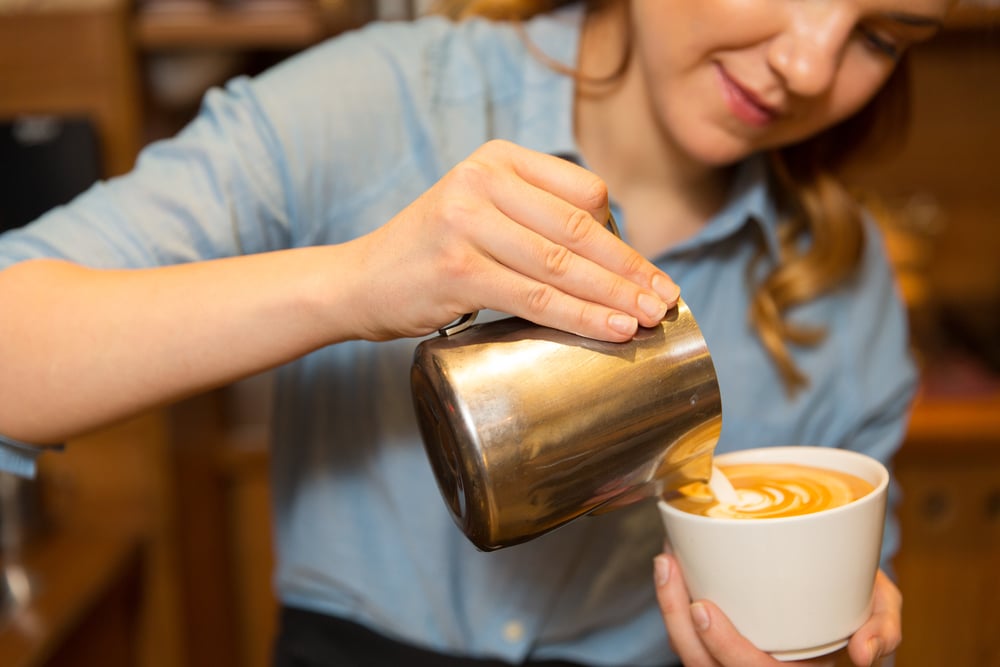
When you go to a coffee shop, the barista uses a high powered steamer wand and a special espresso machine to whip up perfectly frothed milk for your lattes, cappuccinos, and other fancy coffee and tea drinks. It can often lead to drip coffee being less appealing at home. While one of these machines may be excessive in your home, you may be surprised to learn that you can easily froth milk minus the steam using a few common kitchen tools that you most likely already own.
This article explores how to froth milk without a frother using four simple yet effective methods. Sure, a milk frother can come in handy if you enjoy milk foam on a regular basis, but they aren’t entirely necessary, especially if you are just getting into recipes that call for frothed milk.
Important Considerations and Steps to Get You Started
Before you get started, there are a few things we recommend considering in order to make the process go as smoothly as possible.
Evaluate the equipment and tools you have at your disposal. Most of the methods on our list will provide you with similar or the same consistency of foam bubbles, so use whatever method is most convenient for you, at least at first.
Also, consider how much time you have to complete the process. Some of the following methods only take a fraction of the amount of time when compared to others. Keep this in mind when determining which method to conduct.
One of the main tools that you can use to save time is a microwave. While not required, a microwave will heat your milk much faster than your hob, and the milk must be heated to retain the foam.
How to Froth Milk at Home: 4 Different Methods
The following four ways to make frothed milk do not require a specific frothing wand or steamer device. Each one of these methods will provide you with varying results and only need a few minimal steps on your part. We recommend trying several of them to discover which DIY version you like best.
Method 1: Mason Jar AKA Microwave Method
The mason jar method is the easiest and most effective method for frothing milk at home if you have access to a microwave. In our opinion, it provides the best results and gives you thick, dense foam that retains its structure for an extended amount of time. If you don’t have a mason jar, you can always substitute a leftover pasta sauce jar as long as it has a lid with a tight seal.
- Start by adding cold milk to your jar. Make sure to leave some space at the top for the milk to expand and form the desired froth.
- Put the lid on the jar and seal it tight to prevent accidental messes from occurring.
- Shake the jar vigorously for about 30 seconds to a minute. You will be able to see the froth as it develops inside.
- Once you reach the desired amount of froth, remove the lid and place the jar in the microwave for about 30 seconds. It will help the froth retain its dense structure and give the foam a smooth texture. If you do not heat the milk, the foam collapses back into the milk rather quickly.
- After heating the milk, you will be able to spoon the froth out of the jar and add it to whatever drinks you like.
If you don’t have a microwave, it is still possible to froth milk in a jar. You just have to heat it before shaking. However, the froth will not be quite as abundant or consistent. If you choose to go this route, heat your milk in a saucepan first and keep in mind that you may need a dish towel or potholder to protect your hands from the heat and create a barrier while you shake the jar.
Method 2: French Press
The French press method also establishes a good consistency froth without the need for steam or a specific frother device at home. When using a french press to froth different kinds of milk, like oat milk, take care not to over pump it as it can cause the foam to deflate.
- Heat your milk using either your microwave or a saucepan.
- Add the hot milk to the french press, leaving plenty of room for the froth to develop.
- Using short, quick motions, pump the plunger for approximately 30 seconds or no more than 25 times with plant-based varieties of milk.
- When you have enough froth for your latte or other drinks, gently tap your french press on the counter and gently swirl the contents around to even out the consistency and pop the largest air bubbles.
- Lastly, you can now spoon out the froth and top off your espresso or other drink of choice. You can also use the convenient spout to pour the milk into a cup to make a latte.
Method 3: Whisk or Hand Mixer
You can also froth milk at home using a whisk. This method takes a little bit longer than the other methods and requires a bit more labour on your part. Additionally, the foam produced is not quite as bubbly. If you want to save yourself some effort, a hand mixer can be used in the same way. Like mixing ingredients for baking, the electric mixer should be able to froth milk in a fraction of the time needed for a manual whisk.
- Start by heating your milk on your hob or in the microwave.
- Add the hot milk to a large mixing bowl and whisk vigorously. Experiment with back and forth and circular motions to find out which works best for you. If you are using an electric mixer, use a medium speed setting.
- Once you have reached the desired results, pour the frothed milk into a pitcher so you can tap it on the counter and swirl gently to remove any larger bubbles. It is particularly beneficial for drinks with a thinner layer of foam, like lattes.
Method 4: Immersion Blender or Full-Size Blender
The final at-home method we recommend for frothing milk involves using a blender. Either an immersion blender or a full-size blender will work. This method will froth milk in a manner similar to the mixer and whisk method but is not quite as effective, in our opinion. However, it does make smaller, more consistent bubbles in your milk which some people prefer for their cup of coffee.
- Heat up your milk in a saucepan on the stove or in the microwave.
- Add the heated milk to the mixing container. If you are using an immersion blender, make sure to choose a large, deep pot in order to prevent messes caused by splattering milk. If you are using a traditional blender, replace the lid to keep the milk contained.
- Turn on your blender to a medium speed for about 30 seconds to one minute, depending on your own personal preference.
- Tap and shake the milk to even out consistency and then use as you like.
Frothed Milk FAQs
Which Type of Milk Is Best For Frothing?
You can froth most types of milk; however, milk with higher fat content provides denser froth. Adversely, milk with a lower fat content will provide you with lighter, fluffier froth. We prefer 2% milk for a nice, even texture that is neither dense nor overly airy.
Fresh milk provides the best results for lattes and other coffee and espresso drinks. The freshness can affect how much foam you get as well as how consistent the texture becomes.
Can You Froth Plant-Based Milk?
Plant-based milk such as coconut milk, almond milk, soy milk, or oat milk can also be frothed quite easily. Almond milk is our favourite when it comes to texture.
At What Temperature Should You Heat Milk?
Heat the milk to 65 degrees celsius. Generally, temperatures at around 60-68 degrees work. The milk will be very hot but not quite simmering
What Drinks Can You Make Using Frothed Milk?
The most common use for frothed milk involves using it in a coffee drink recipe along with espressos such as lattes, cappuccinos, mochas, and macchiatos.
Aside from common coffee drinks, milk froth can also be used to make special cocktail recipes, hot chocolate, and tea recipes such as a chai latte or other tea latte types.
Which Method Will You Try First?
Now that you know how to froth milk without a frother using several different methods, which one will you try out first at home? Will you go for the easiest method involving a microwave and a mason jar? Or, will you try one of the methods that require additional equipment or a machine like an immersion blender? Either way, you can look forward to a delicious cup of coffee topped with milk foam or other frothy beverage in your near future.
Let us know what you think and how your experience frothing milk at home goes in the comments below.
Emily is a woman of many talents. She has a B.A. in English and enjoys writing. Emily loves accessorising her home with quality products that not only serve a purpose but also enhance the overall convenience and tranquillity of her living space; there’s nothing like coming home to your own personal sanctuary after a long day! She loves anything that can make life easier or more comfortable—from dishware to furniture to lighting fixtures.