Last Updated on January 10, 2023
Painting is one of the easiest ways to style up your fence. Not to mention, it’s the first thing that many people tend to notice when they are visiting your home.
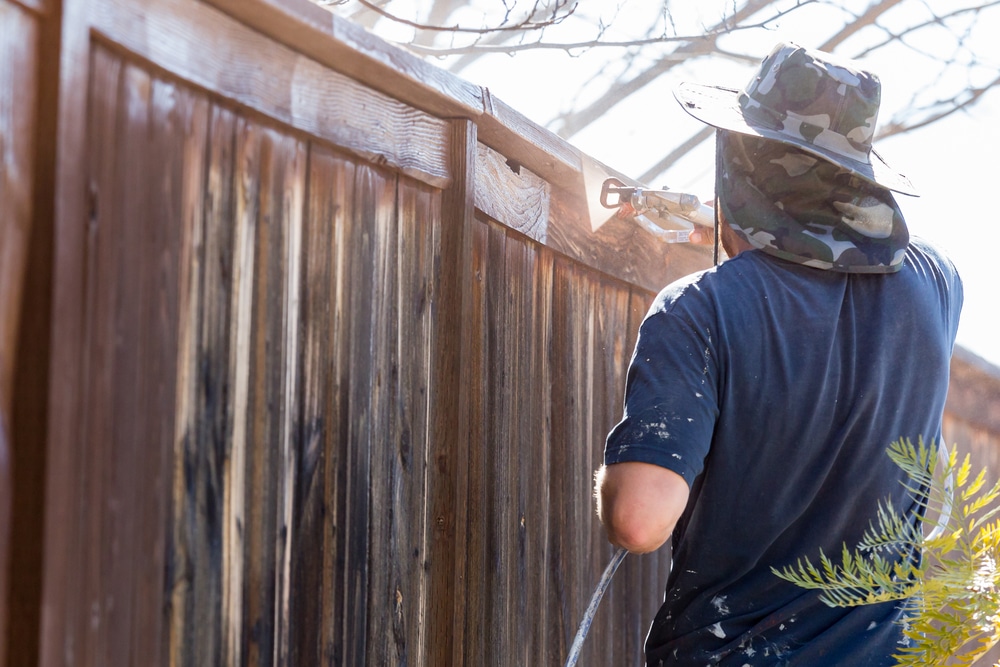
A well-maintained fence with a warm colour can be quite welcoming to visitors. While painting a fence with a sprayer might seem like a challenging task for some, it can be a really simple and enjoyable home improvement for others since it only takes a short time to do.
In this post, we are going to show you how to paint a fence with a sprayer. We will also give you insight into the other tools you may need when painting a fence with a sprayer.
What You Need In A Spray Paint Project
Before you get started, make sure that you have everything you need to complete the job.
Paint
Make sure that you choose a good colour that you love and something that looks great with your existing style and outdoor decor.
Whichever colour you might decide to choose, make sure that you get paint compatible with the surface of your fence. For instance, if you plan to paint a wooden fence, opt for paint designed for wooden surfaces. Some allow you to see the grain, some may have a matte finish, or you can opt for a gloss option.
Paint Sprayer
A paint sprayer will save you time while you are painting your fence. It’s an easy way for you to get an even finish on your fence. It may only take you a short amount of time of around 30 minutes to spray a whole fence if you use a good spray gun.
Other Tools That You Might Need
These are some of the other products that you might require in painting DIY projects with a spray gun:
- Two empty buckets—one for priming and the other one for cleaning
- Safety gear such as gloves
- Masking tape
- A plastic sheet that can keep your environment clean
- Paintbrush for final touch-ups
- Stirring stick
- Good cleaning rag
- Paint thinner
Step By Step Guide To Painting Your Fence With a Sprayer
Step 1: Know Your Material
Now, if you want to work on a newly constructed wood fence, you should take some precautionary measures before you start to spray. For instance, you should let the wood dry out completely from the top part to the bottom. Some of the moisture that might be present in a newly constructed fence might hinder the painting process.
Step 2: Schedule Your Work
You should also check the weather before you start to spray your fence. Spraying in windy weather can be quite cumbersome.
The most suitable day to do a DIY spraying project might be on a warm and calm summer day. For starters, the paint will dry off quickly. Not to mention, spraying will be quite easy for you.
Step 3: Protect Surrounding Areas
You need to protect anything that is in the surrounding area. If your fence is next to your beautiful garden, you must cover such vegetation with a plastic sheet. On the other hand, if your fence is next to the pavement, put a plastic sheet on the pavement to protect it from sprayer stains as they can be difficult to remove.
Step 4: Clean Up
Before you start to spray your fence with a sprayer, you have to prepare the area you will be working on. Start by cleaning the surface of the wooden fence and the area around it.
If there are any cobwebs on the surface of the wood, remove them using a brush. Check the ground where the wood fence is. It might also be a little bit dirty so you should clean it too.
While you can use a power washer to clean the wood’s surface, you have to let it dry before you start applying paint. As mentioned earlier, wet areas might give you a hard time painting with a sprayer.
Step 5: Sand Your Fence
In some instances, the fence’s wood surface might have some old paint that might be peeling off. If that’s the case, you have to sand the surface to get rid of the old paint. Plus, if your fence’s surface is not even, you also need to sand it to get an even surface. A fence with an even surface improves the adhesion of the paint to the surface. Not all fences come the same so make sure you check yours out before you start. Even individual panels could vary greatly.
Step 6: Check the Thickness of the Paint
There are several things you should take into consideration before you getting started. To start, thin down the thickness of your paint. Using thick paint might be cumbersome and might break the sprayer. You can thin down paint using some water or paint thinner.
On the other hand, if you plan to use different paints, use an empty bucket to mix the paints. Stir the mixture continuously for about 2 minutes to get a consistent colour.
Step 7: Choose a Sprayer Nozzle
Choose a suitable tip for your spray gun. It is advisable to use a nozzle tip that has an 8-inch spray radius. Such a tip makes it easier for you to handle the sprayer while painting your home fence.
Step 8: Select the Pressure
Select the most suitable pressure setting based on the surface that you are working on. While some surfaces might require a high-pressure setting, the low-pressure option gives you more control as you are spraying.
Step 9: Mind How You Spray
Once you finish setting up your sprayer, start to paint your fence. If you are working on a wooden fence, spray in the direction of the wooden grain. It makes it easier for you to access some spots that are quite hard to reach.
Start by spraying the top part of the fence, then move down to the bottom part. By doing this, you will be able to manage drips.
If you don’t want any paint on your neighbour’s side of the fence, use a brush to paint the top part of your fence. Dip the brush in paint and apply it to some of the areas you may not have painted.
Step 10: Let It Dry
Let the paint dry for a day or so. Check for any inconsistencies that might be on the surface of the paint.
Adding a second coat of paint might help it look more consistent and remove any flaws that might be on the surface of your fence. Not to mention, you should paint the second coat at a different angle from your first coat.
Finishing Up
You should finish off by cleaning. Once you finish painting your fence, make sure that clean the surface that you were working on. If you had placed a plastic cover on the base of the fence, remove it and quickly wipe away any drips that may have occurred as they can stain.
After that, clean your paint sprayer, thoroughly rinsing the nozzle to ensure it doesn’t clog.
A Fresh Lick of Paint
Learning how to paint a fence with a sprayer can be easy if you follow the instructions and tips that we have given above. Spray painting projects can be quite enjoyable to do and satisfying to achieve. If you want to have an attractive, well-maintained fence, you have to paint it regularly. Just always make sure you clean the area you worked on after you finish painting. Don’t forget to also clean the paint sprayer to ensure the longevity of your device.
Have you ever painted your fence with a sprayer? Tell us about it below.

Ian loves everything that revolves around the home improvement niche. He loves trying out new home appliances. He has also handled a lot of equipment and has a lot of insight. Plus, he’s worked on various home improvement projects that became a success. If Ian isn’t busy working on his latest project, you can find him reading up about another one!