Last Updated on January 10, 2023
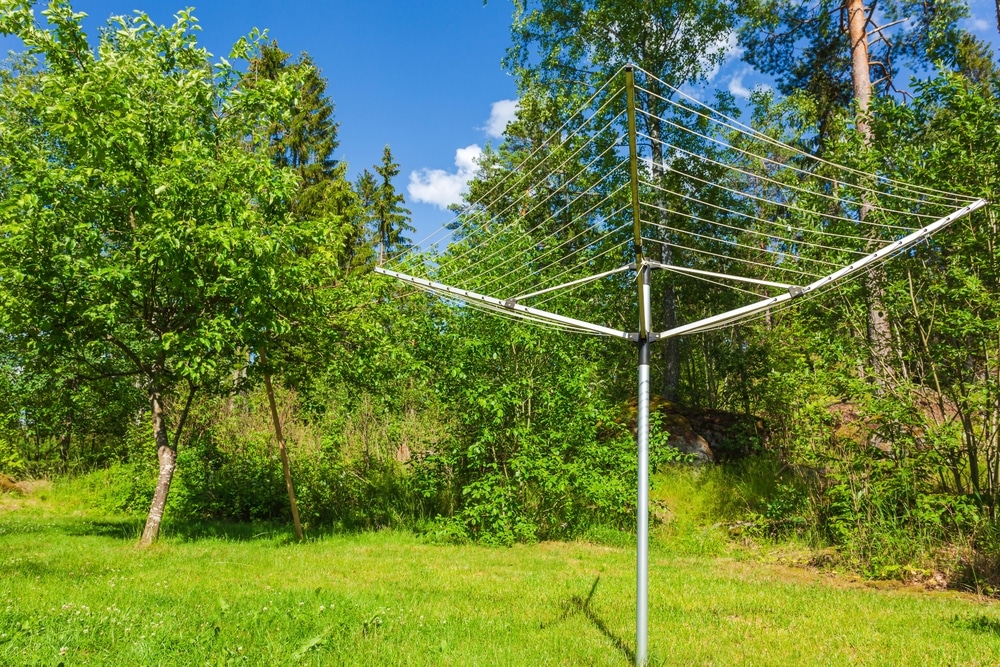
A rotary line is an excellent tool for hanging up your clean washing outside. It can be installed in different spots around your home, such as your backyard and garden. Moreover, a rotary washing line has a unique design that doesn’t take up much space and can be easily collapsed when not in use.
In this article, we are going to describe to you how to put up a rotary line.
Tools That You Might Need
Here are the different tools that you may require while setting up your rotary washing lines:
- Crowbar
- Spirit level
- Spade
- A pair of gloves
- Ready-mix concrete
- Water
Steps in Putting up a Rotary Washing Line
It may be hard at first, but the more you become familiar with the process, putting up a rotary washing line becomes easy. If it is your first time, follow the steps below.
Step 1: Prepare the Area
The first thing you need to do is determine where you will place the rotary washing line. Next, prepare the area by getting rid of any obstacles/items, such as garden furniture that might get in your way. Also, you may need to cut back some taller shrubs and bushes.
Step 2: Get Rid Of the Grass
Once you get rid of any obstacles, you will also have to remove the grass from the location you wish to install the line. Again, use a spade to remove the sod from the ground, but don’t’ get rid of it, as you can use it, later on to cover up the area around the line’s pole.
Loosen the soil that you’ve just exposed using a high-quality crowbar or a hand cultivator.
Step 3: Dig the Hole That Will Hold the Rotary Line
Read the user manual of the rotary washing line to know the length of the receiver tube and the spike. This will provide you with an indication of how deep you need to dig to support the rotary line fully. Also, check the post-mix concrete bag instructions to gain further insight into the task at hand and how much concrete you’ll need for this project.
Use your spade to dig the hole deep enough that it can snuggly hold the receiver tube of the rotary washing line. It would help if you were careful while digging and trying not to loosen the soil on the sides of the hole, as you want these to remain firm as possible. This is because the soil and surrounding the receiver tube offer additional support to the spike and receiver.
Step 4: Put the Receiver Into the Hole
Put the receiver into the hole. The tube opening of the receiver should be on the same level as the ground.
Step 5: Mix and Pour the Post-Mix Concrete
Mix the concrete according to the package instructions and pour it into the hole around the receiver. You can go through the instructions on the bag to get some insight into how you should pour the concrete.
Do not pour the post-mix concrete to fill up the hole completely. Leave some space just below the ground level (a few cm will do) and ensure that the tube opening doesn’t sink into the concrete. There should be some space to spare between the top of the concrete and the top of the tube.
Step 6: Adjust the Receiver
To get an upright rotary washing line, we recommend adjusting the receiver with the help of a spirit level. Move the receiver until you’re satisfied with the outcome, and the spirit level indicates that it’s in a straight position.
If you don’t adjust the level, you may end up with your rotary line slanting in one direction.
Step 7: Cover the Hole With the Sod
If your rotary line is on your lawn, neatly place the sod that you previously cut away around the hole. You may need to break it into different or smaller sections to make it fit nicely. Try not to touch or disturb the receiver as you do this, as you accidentally change its position. If you want to be, wait until the concrete has completely dried and neatened up the area.
Step 8: Put Up the Pole
Once the ready-mix concrete is set, insert the pole into the receiver, then adjust the washing line to suit your needs and tighten the lines, if need be.
Putting up Washing Lines
With all the right materials, putting up your washing line can be done in a short amount of time. And, once you’re done, nothing will be standing between you and freshly sun and wind-dried clothes, sheets, and towels. But, of course, once you finish installing the spike, you have to check and see whether it works perfectly or not.

Ian loves everything that revolves around the home improvement niche. He loves trying out new home appliances. He has also handled a lot of equipment and has a lot of insight. Plus, he’s worked on various home improvement projects that became a success. If Ian isn’t busy working on his latest project, you can find him reading up about another one!

