Last Updated on February 2, 2023
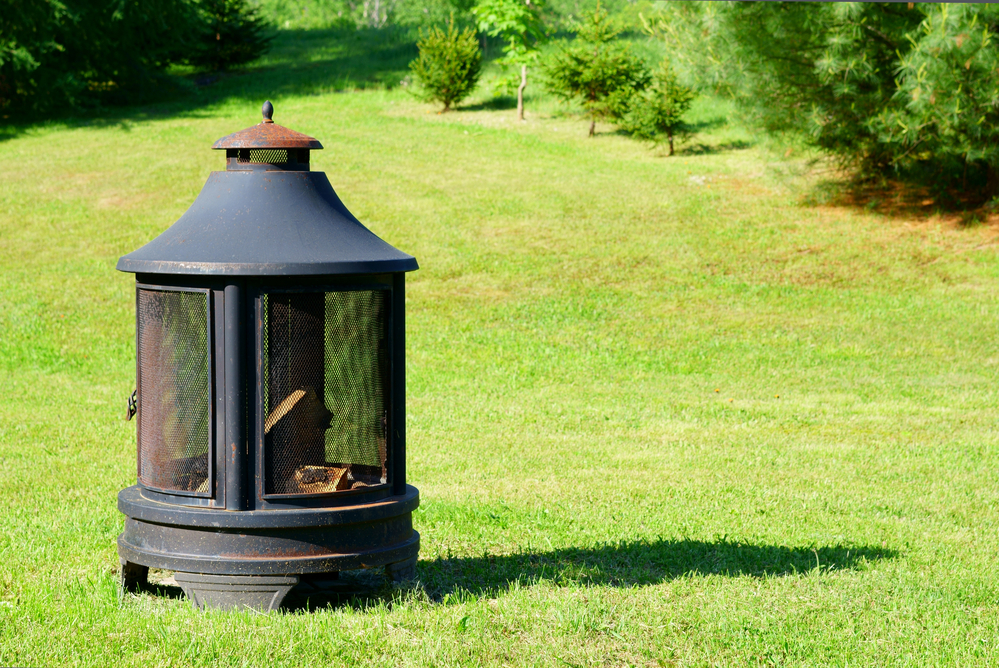
Chimineas are great for outdoor gatherings, but when one of them gets a crack, it can be hard to know what to do. Repairing a cracked chiminea doesn’t have to be an intimidating task – with the right materials and knowledge, you’ll soon have your beloved fireplace back in action. In this blog post, we will explore how to repair a cracked chiminea, from gathering supplies all the way through maintenance tips. So let’s get started on bringing your fire pit back up and running again.
Table of Contents:
Gather the Materials
When it comes to repairing a cracked chiminea, the first step is gathering the materials you need. This includes mortar mix, which can be found at most home improvement stores; a trowel for mixing and applying the mortar; water; and safety equipment such as gloves and eye protection.
It’s important to make sure that you have enough mortar mix on hand before beginning your repair project. You don’t want to find yourself in the middle of a job with no more material. The amount of mortar needed will depend on how large or deep your crack is. A good rule of thumb is to buy one bag per square foot of the area being repaired.
You may also want to pick up some sandpaper or steel wool if there are any rough edges around the crack that need smoothing out before patching them up with mortar. And if you plan on painting over your repair job once it’s finished, now would be an ideal time to grab some paint too.
Finally, make sure you have all the tools necessary for mixing and applying your new batch of mortar: a bucket or wheelbarrow for mixing, plus either a trowel or putty knife, depending on what type of application works best for this particular job (the packaging should tell you). Do not forget about safety gear like goggles and gloves; these are essential when working with cement-based products like mortars.
Once you have all the necessary supplies, it’s time to begin prepping your chiminea for repair.
Prepare the Chiminea

Before you can repair a chiminea, it’s important to ensure the surface is clean and free of debris. A wire brush is an effective tool for removing any loose pieces of clay or dirt from the exterior. Start at the top and work your way down, brushing away all of the dirt until you reach the bottom. Make sure to get into all of those hard-to-reach crevices as well.
Next, use a damp cloth to wipe away any remaining dust or residue on the inside and outside surfaces. Be careful not to scrub too hard; otherwise, you could damage the material underneath. Once everything has been wiped down, let it dry completely before moving on to repairs.
It’s also important to check for cracks in your chiminea before attempting any repairs. If there are large cracks present, they may need more extensive attention than just simple patching up with mortar mix or cement sealant – in this case, it might be best to consult a professional mason who specialises in outdoor fireplaces and ovens like these.
Finally, take some time every few months (or even weeks if you use your chiminea frequently) to inspect its condition and look out for signs of wear and tear, such as chips or scratches on its surface which can weaken its structure over time if left unchecked. Cleaning off soot buildup regularly will also help prevent corrosion caused by moisture seeping through small holes in the clay walls.
Before you can repair the crack, it is important to prepare the chiminea by cleaning off any debris and removing any loose pieces of clay. Now that your chiminea is ready, let’s repair the crack.
Repair the Crack
Mixing the mortar mix with water is the first step in repairing a crack in your chiminea. To begin, you’ll need to gather all the materials necessary for this project: a bucket or container, a trowel, and some mortar mix. Once you have these items on hand, it’s time to get started.
Begin by pouring the mortar mix into your bucket or container and adding enough water so that it forms a thick paste-like consistency. Make sure that there are no lumps present before moving on to the next step.
Using your trowel, scoop up some of the mixtures and apply it directly over the crack in your chiminea. Be sure to press down firmly as you go along so that all of the cracks are filled completely with mortar mix. When finished, use your trowel to smooth out any excess material until everything looks even and level across its surface area.
Once complete, allow plenty of time for drying before using your chiminea again – at least 24 hours is recommended if possible. During this period, be sure not to move or disturb anything around where you applied for the repair work, as doing so could cause further damage or weaken its structural integrity over time.
Finally, keep an eye on how much heat is being generated when using your repaired chiminea, as too much can cause further cracking due to thermal expansion and contraction cycles occurring within its walls during operation – especially if done incorrectly. If unsure about what temperature range is safe for use, then consult with an expert who specialises in outdoor fireplaces/chimineas before lighting up yours again, just to be sure.
Maintenance Tips
Chimineas are a great addition to any garden or outdoor space. They provide warmth and ambience, making them the perfect spot for gathering with friends and family on cool evenings. But in order to keep your chiminea looking its best, it’s important to maintain it properly. Here are some tips that will help you keep your chiminea in top condition:
Cover It Up
When not in use, make sure you cover up your chiminea with a waterproof tarp or other protective covering. This will protect it from the elements and help prevent rusting or cracking due to extreme temperature changes.
Clean Regularly
After each use, clean out any ash or debris left over from burning wood inside the fire bowl of the chiminea using a metal brush specifically designed for this purpose. Doing so regularly will ensure that air can circulate freely around the firebox and reduce the buildup of creosote, which can cause damage if left unchecked.
Check for Cracks
Periodically inspect your chiminea for cracks, as these can be caused by extreme temperature changes as well as water damage from rain or snow getting into small openings in the structure of the fireplace itself. If you do find a crack, repair it immediately using heat-resistant cement available at most hardware stores before further deterioration occurs due to weather exposure.
Keep an eye out for signs such as discolouration on metal parts which may indicate moisture has been present recently. Take action quickly if necessary, as standing water near your chiminea after rainfall or snowfall can seep into small openings causing corrosion and weakening of structural integrity over time, leading to potential collapse if left unchecked long enough.
Conclusion
Repairing a cracked chiminea is not as difficult as it may seem. With the right materials and instructions, you can have your chiminea looking good as new in no time. Remember to always take proper care of your chiminea after repair so that you don’t have to go through this process again anytime soon. If you follow these steps for how to repair a cracked chiminea, then you should be able to enjoy its warmth and beauty for many years to come.
Paul is the type of person who never met a problem he couldn’t fix. He can always be found tinkering with something in his house, even if it isn’t broken! His tips and tricks are often shared on our site. He’s the one you call when something breaks because he has been known to improvise fixes for everything from leaky faucets to malfunctioning dryers.