Last Updated on January 10, 2023
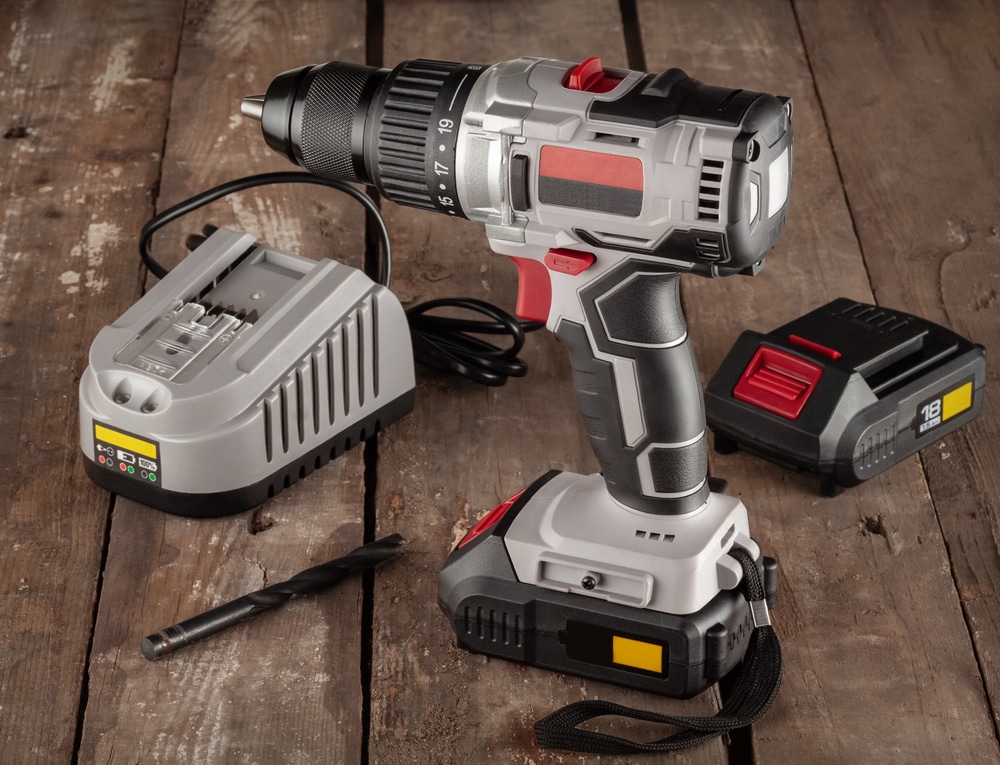
Cordless drills make it easier for you to freely move while you are working on DIY projects. Since power drills run on batteries, they are highly portable and quite effective in drilling holes in tight spaces.
While a cordless drill makes work much easier, the battery charger might develop multiple technical issues due to various reasons and might not charge even if it’s connected to a power supply.
Knowing how to test a cordless drill battery charger makes it easier for you to determine whether it has a problem or whether it’s the battery itself that has an issue. In this post, we are going to show you how you can test your charger in 7 simple steps and hopefully answer any queries you may have.
How Can Battery Chargers Develop Issues?
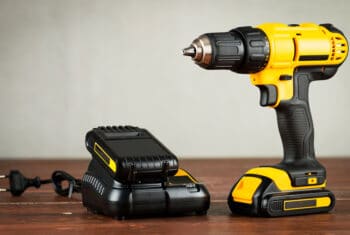 Cordless drills usually come with their own battery charger, which can last you years. However, most electrical appliances are not 100% perfect and can develop technical issues after being used for a long time.
Some battery chargers might stop functioning due to a loose wire in the circuit. In other cases, a battery charger may not function effectively due to some faulty parts. While some users might try to repair such defects, it is not advisable to repair a charger on your own.
Getting a False Alarm
There are some instances where the charger might be working just fine, and its the battery that’s not working efficiently. In many situations, people always get a false alarm. If your charger stops working, don’t throw it away immediately.
Different Tools That You Might Need During the Test
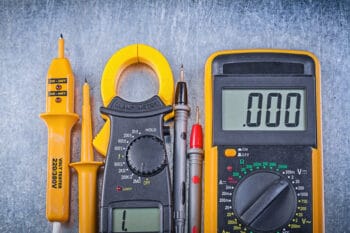
- Multimeter or Voltmeter: A multimeter and a voltmeter can help you run different tests on a battery charger. For starters, a voltmeter measures the maximum amount of voltage in a certain circuit. On the other hand, a multimeter measures the total amount of voltage and amperage in a circuit. Advanced multimeters can also measure resistance and capacitance, so it may offer you more options than a voltmeter.
- A Pair of Gloves: For safety purposes, you also need to get a pair of rubber gloves that will protect you from the electric current as you are testing the battery charger.
- Source of Electricity: Lastly, you will need a source of electricity so you can do your test.
How To Test A Battery Charger
Step 1: Look for the voltage rating of the cordless drill battery charger.
Most cordless drills come with a label that shows you the total voltage of your charger and the battery voltage rating. If your cordless drill doesn’t have a label, you can visit the manufacturer’s website and search for your model number.
Step 2: Set the multimeter voltage.
 Set the multimeter to receive the same voltage as your battery charger. You can also increase the voltage of the multimeter slightly.
For instance, if your cordless drill battery has a voltage rating of 12 volts, you can set your multimeter voltage capacity at 13 volts.
Step 3: Plug in the power drill charger.
Plug the power drill battery charger into a source of electricity.
Step 4: Connect the multimeter.
Connect the multimeter’s red wire to the positive metal terminal outlet of your battery charger. Connect the multimeter’s black wire to the negative metal terminus outlet of your battery charger. You can also use a circuit board to connect the battery terminals to the multimeter.
Step 5: Read the results.
Read the multimeter to determine whether your battery charger is working efficiently or not. Double-check the results by reading again.
Step 6: Analyze the reading from the multimeter.
If your battery charger is working effectively, the voltage reading on the multimeter will be higher than the battery charger’s overall voltage rating. On the other hand, if the voltage reading on the multimeter is lower than the overall voltage rating of your cordless drill battery charger, then the charger has a problem.
Step 7: Disassemble the setup.
Store the cordless drill charger in a safe place. If the voltage reading was lower, then you will need to start looking for a replacement charger. If your battery charger works perfectly, then there may be something wrong with your battery.
Cordless Drill Batteries
Drills have different types of batteries. Most cordless variations come with a NiCad Rechargeable battery, while others have a lithium-ion battery. While NiCad Rechargeable batteries are quite effective in powering different cordless drills, they are not too durable.
How To Fix The Battery of A Power Drill
Charging your battery for long hours might cause the formation of cadmium crystals on the surface of the battery. Such crystals reduce the overall performance of your cordless drill battery. Not to mention, sharp crystal edges might also affect its various components.
Cadmium crystals may also form on the battery’s surface if it is stored for a long time without being used. Repairing a faulty NiCad Rechargeable battery involves breaking some of the cadmium crystals that might be on the surface of the battery. Once the cadmium crystals are removed from the surface, the battery can be recharged again. You can try repairing your cordless drill battery at home.
Drain the Battery
This will make it easier for you to fix the battery of your cordless drill. Follow these steps to fully drain your battery:
- Charge the battery of the cordless drill until it’s full.
- Insert the battery into the cordless drill.
- Hold the trigger of the power tool continuously. You can also use another tool to press the trigger of the cordless drill.
- Press the trigger of the drill until the motor comes to a halt.
- Let the motor rest for about 30 minutes, then press the trigger continuously again.
- Repeat the same process until the battery becomes fully drained.
- Draining the cordless drill battery makes it easier for you to get rid of cadmium crystals that might have formed on the surface of the battery.
Freeze the Battery
This next step involves freezing your NiCad battery. Try the steps below:
- Clean and dry the outer surface of the battery, then place it in a clean freezer bag.
- Leave it in a freezer for about 12 hours.
- Remove it from the freezer, then wipe it to get rid of any frost or moisture that might be on the outer surface.
- Knock the base of the battery against a sturdy surface to get rid of the frozen cadmium crystals.
- Leave the battery in an open space until it is at room temperature.
- Recharge it.
- Insert it into your cordless drill.
Revive a Dead Battery
You may also try this method if you want to revive a dead battery.
- Position the dead battery next to a fully charged battery that has a positive charge.
- Look for conductors—two small copper wire windings.
- One conductor should run the dead battery’s negative terminal to the negative terminal of the live battery. The other conductor should run from the live battery’s positive terminal to the
- positive terminal of the dead battery.
- The connection between terminals should be maintained for about 30 minutes. This connection jumpstarts the dead battery by moving the charge from the live battery to the dead battery.
- Once 30 minutes are over, break the connection.
- Try to connect the dead battery to a working charger. It should work efficiently after that.
WARNING: Do not connect terminals of the opposite battery charges—connecting the positive and negative terminals. You should only connect terminals that have like charges— negative to negative and positive to positive.
How Are Your Charger and Battery?
With those easy steps, you can check whether your charger is working efficiently or not so you can immediately replace it with a new one. Knowing how to test a cordless drill battery charger also makes it easier for you to determine whether your battery is functioning correctly or not.
In some instances, the charger might be functioning well, but the battery might have a defect. The good thing is that most battery issues can be solved easily. On the other hand, while some batteries might be repaired, others might be damaged beyond repair. The only solution to that is to purchase a new battery.
We hope that we have been able to answer all of your questions. Do you have any experiences with charger issues with your cordless drill? How about your cordless drill batteries? Let us know if you have any more handy tips.

Ian loves everything that revolves around the home improvement niche. He loves trying out new home appliances. He has also handled a lot of equipment and has a lot of insight. Plus, he’s worked on various home improvement projects that became a success. If Ian isn’t busy working on his latest project, you can find him reading up about another one!
Charger was working but seems to have stopped I think I put the battery in wrong way and may have shorted it the neon lights are not lighting even when the start button is pressed