Last Updated on February 14, 2023
Are you feeling the squeeze? Trying to fit a square pillow into a round bed? Don’t worry, it’s not impossible. With just some basic tools and our guide on how to cut memory foam pillows, you’ll be sleeping in comfort again soon. We’ll walk you through measuring up your pillow for maximum accuracy, cutting time (safely.) with sharp precision and smoothing out any bumps along the way. So don’t let oversized memory foam pillows ruin your sleep – follow our steps and get ready for those finishing touches that will make all the difference.
Table of Contents:
What You Need
When it comes to cutting a memory foam pillow, you’ll need the right tools and materials. A sharp knife is essential for making precise cuts in the foam. Make sure your knife is sharp enough to make clean cuts without tearing or ripping the material. Additionally, you’ll want a ruler or measuring tape to ensure that all of your cuts are even and accurate. Finally, you’ll need a sturdy cutting board or other flat surfaces that can handle being cut on with a knife. This will help protect both your work surface and the blade of your knife from damage as well as keep everything neat and tidy while you’re working. With these three items – a sharp knife, ruler/measuring tape, and cutting board – you have all of the necessary tools needed to successfully cut through memory foam pillows like butter.
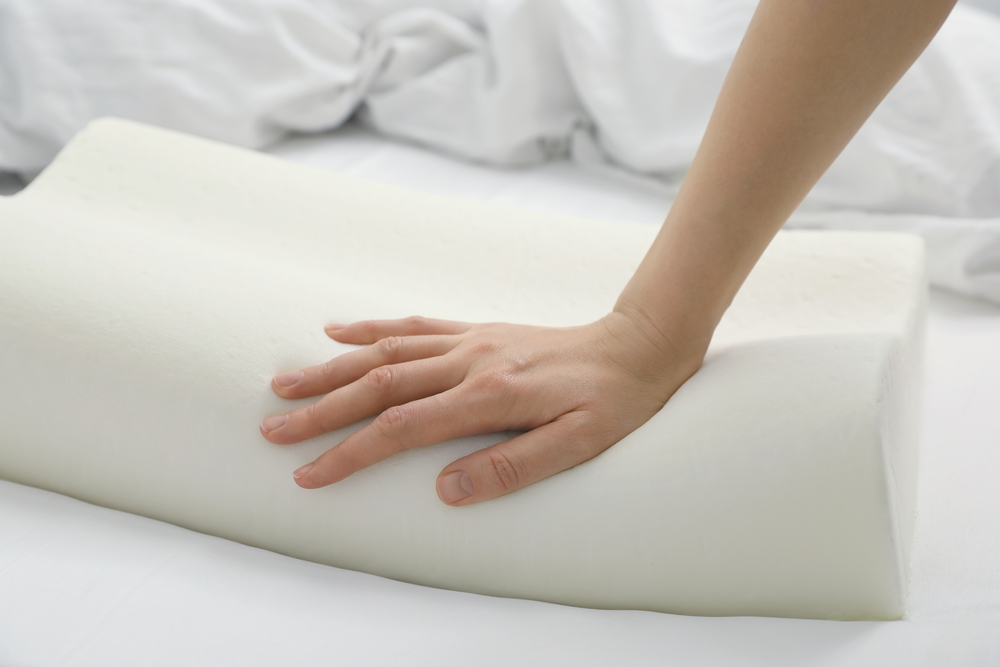
Measuring Up
Measuring up your pillow is an important step in ensuring that you get the perfect fit for your bed. Before you begin, make sure to have a tape measure and pen or marker handy.
Start by measuring the length of the pillow from one end to the other. Place one end of the tape measure at one corner of the pillow and stretch it across until it reaches the opposite corner. Make sure to keep it straight as you go so that you get an accurate measurement. Once done, mark this measurement with a pen or marker on both sides of the pillow so that you know where to cut later on if needed.
Next, measure its width by placing one end of your tape measure at either side edge and stretching it across until it reaches its opposite side edge. Again, make sure to keep your tape measure straight as you do this and then mark down this measurement with a pen or marker on both sides of your pillow once complete.
Finally, check how thick (or deep) your desired size should be before cutting any fabric off – especially if making a custom-sized cushion cover. Measure from the top surface all around each side’s edges until reaching the bottom surface again; then use these measurements when deciding what type and thickness of fabric material will work best for creating a comfortable yet durable cushion cover tailored just for yourself.
Cutting Time
Cutting time can be a daunting task, especially when it comes to using a knife. But with the right tools and techniques, you can make quick work of any project.
Start by selecting the right knife for your job. A sharp utility or chef’s knife is ideal for most cutting tasks. Make sure that the blade is long enough to reach all areas of your project and that it has a comfortable handle, so you don’t tire out quickly.

Now it’s time to start slicing. Place one hand on top of what needs to be cut while keeping fingers away from the blade path at all times; use the other hand to hold onto the handle of your knife firmly but not too tightly – this will give you more control over each stroke as well as reduce fatigue during longer projects. With slow, steady strokes, begin making shallow incisions along marked lines until the desired depth is reached, then move onto the next area needing attention until complete.
Smoothing Out
Sandpaper and electric sanders are essential tools for smoothing out rough edges created by cutting. Sanding is a crucial step in any project that requires precision and accuracy, as it can make the difference between an amateurish job and a professional-looking finish.
When using sandpaper, start with a coarse grit to remove large chunks of material quickly. Then move up to finer grits until you reach the desired level of smoothness. Be sure to keep your strokes even and consistent throughout the process; if you press too hard on one area, it will be more difficult to achieve an even finish later on.
By smoothing out the memory foam, you can create a pillow that is more comfortable and supportive for your neck and head. Now it’s time to give your pillow the finishing touches to make it truly unique.
Finishing Touches
To fluff up a newly cut memory foam pillow for maximum comfort, there are a few simple steps you can take.
First, start by shaking the pillow vigorously from side-to-side until all of the pieces have been separated evenly throughout the pillow. This will help break up any clumps that may have formed during cutting or shipping process.
Next, place the pillow in direct sunlight for about 30 minutes so that it can expand naturally without having to use heat or chemicals. The sun’s rays will also help kill off any dust mites or other allergens that may be living inside your new pillow.
Finally, give your memory foam pillow one final fluffing with your hands before placing it on your bed or sofa cushion. Gently knead and massage each section of the pillow while simultaneously pushing down on it with both hands until all areas are evenly distributed across its surface area. This should leave you with a fluffy and comfortable piece of furniture ready for use.
Conclusion
Cutting memory foam pillows can be a tricky task, but with the right tools and a bit of patience, you can get it done. After measuring up your pillow, cutting time is when the real work begins. Be sure to take your time and use steady hands for smooth cuts. Finally, don’t forget to give those edges some extra attention before using them in your home or garden project. With these tips in mind, you’ll have no problem getting that oversized memory foam pillow cut down to size.
Paul is the type of person who never met a problem he couldn’t fix. He can always be found tinkering with something in his house, even if it isn’t broken! His tips and tricks are often shared on our site. He’s the one you call when something breaks because he has been known to improvise fixes for everything from leaky faucets to malfunctioning dryers.