Last Updated on January 22, 2023
Are you wondering how to test an electric shower? Well, it’s not rocket science – but there are a few important steps that need to be taken in order to make sure everything is working as it should. From checking for power and testing water flow right through to making sure the temperature control works properly, we’ve got all the information you’ll need on how best to test an electric shower. So don’t worry if your DIY skills aren’t quite up-to-scratch yet! Let us show you just what needs doing so that your electric shower passes with flying colours.
Table of Contents:
Safety First
It’s important to take safety precautions when testing an electric shower. It is essential to ensure that the water pressure and temperature are correct before using it, but you should also make sure that no one gets hurt in the process. Here are some tips on how to stay safe while testing your electric shower:
1. Check for Power: Before doing anything else, make sure the power is off by unplugging or switching off the circuit breaker box. This will prevent any electrical shocks from occurring during the installation or maintenance of your electric shower.
2. Test Water Flow: Once you have confirmed that there is no power running through your system, test the water flow by turning on both hot and cold taps simultaneously and checking for a steady stream of water coming out of each tap without any leaks or drips. If everything looks good, then proceed with further tests as necessary.
3. Checking Temperature Control: Make sure that all controls are set correctly so that you can adjust the temperature according to your needs and preferences without having to worry about scalding yourself in case something goes wrong, with either hot or cold settings being too high/low, respectively. You can do this by setting up a thermometer next to each tap outlet and making sure they read within an acceptable range (e.g. between 38-45°C).
Finally, always remember to never leave children unattended near an electric shower, as even if all safety measures have been taken into account, accidents can still occur due to human error.
It is important to always practice safety first when dealing with electricity. Now, let’s move on to checking for power before testing an electric shower.
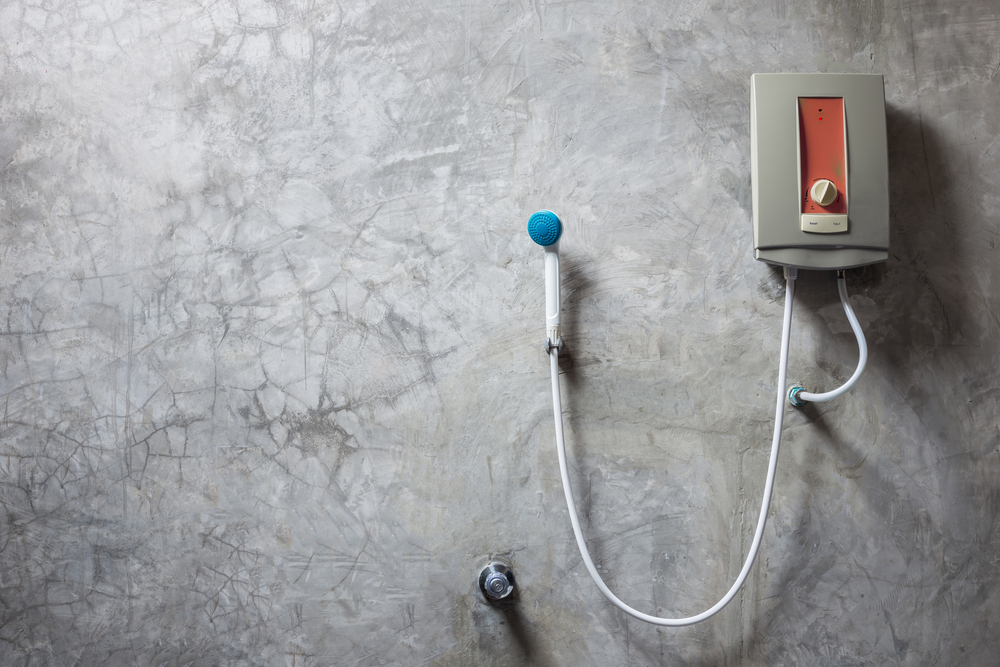
Checking for Power
When it comes to checking for power in an electric shower, safety should always be the top priority. It is important to make sure that you are not exposing yourself or others to any potential risks of electrocution. Before testing the power running through your electric shower, make sure that all circuit breakers and fuses are turned off and disconnected from the main electricity supply.
The next step is to use a voltage tester pen or multimeter set on the AC volts range setting. Make sure you read the instructions carefully before using either device, as they can be dangerous if used incorrectly. Once you have correctly connected your voltage tester pen/multimeter with your electric shower’s wiring, switch on the main electricity supply and check whether there is power running through it by pressing down firmly onto each wire connection point one at a time until you hear a clicking sound indicating that there is power present in both wires. If no click sound occurs, then this could mean that there may be a fault with either one of these connections points or even further up within its circuitry, which would require professional attention immediately
It is also worth noting that when dealing with electrical appliances such as showers, isolation switches should always be installed to ensure complete disconnection from mains electricity during maintenance activities such as cleaning. This will help prevent any potential accidents occurring due to someone accidentally switching on the appliance while work is being carried out on it.
Once you’ve confirmed that the electric shower has power, it’s time to move on to testing the water flow.
Testing Water Flow
Testing water flow from an electric shower is a simple process that can be done in just a few steps.
Safety First
Before beginning, it’s important to make sure the area around the shower is safe and secure. Make sure there are no wet surfaces or exposed wires and that all electrical connections are properly sealed off. It’s also important to ensure you have turned off any power sources before starting your test.
Checking for Power
Once you’ve ensured safety, check if the power source has been switched on by turning on the main switch located near the showerhead. If this isn’t working, check other switches in case they have been tripped due to the overloading of electricity or some other issue with the wiring. Once you’ve confirmed that everything is powered up correctly, move on to testing the water flow from your electric shower head.
Testing Water Flow
To begin testing water flow from your electric shower head, turn on both hot and cold taps at their maximum settings and wait for a few seconds until full pressure has built up inside the pipes leading into your bathroom or kitchen sink (or whichever appliance you’re using). Then open one of them fully so that only one tap remains open while keeping its temperature setting constant throughout the process – this will help keep track of how much water is flowing through each pipe during testing as well as provide consistent results when comparing different tests against each other later.
Checking Temperature Control
Finally, use a thermometer to measure how hot or cold each pipe’s output is running. This will give an indication of whether there are any issues with temperature control within your system, which could lead to potential problems such as scalding yourself when taking showers. Keep in mind that most modern electric showers come equipped with thermostatic valves, which should prevent any sudden changes in temperature, but it’s still worth double-checking every now and again just to be sure everything is running smoothly without any surprises.
Once you’ve tested the water flow, it’s time to move on to check the temperature control. This is an important step as it will ensure that your shower experience is comfortable and safe.
Checking Temperature Control

Temperature control is an important factor to consider when it comes to electric showers. It’s essential that the temperature of the water coming out of your shower is consistent and not too hot or cold. To check if your electric shower’s temperature control works correctly, you should follow these steps:
1. Start by turning on the shower at its lowest setting. Make sure no other taps are running in the house, as this could affect the pressure and, therefore, the temperature of your shower.
2. Increase the temperature gradually until you reach a comfortable level for bathing – usually around 37-38°C (98-100°F). If you feel like it’s getting too hot or cold, turn it down or up accordingly until you find a good balance between comfort and safety levels.
Once you have reached a comfortable level, keep an eye on how long it takes for any changes in the water flow rate to affect the overall temperature output from your electric shower. That is, does it take longer than usual for any changes in water flow rate to be reflected in terms of hotter or colder temperatures? This will help determine whether or not your electric shower has adequate thermal protection built into its design, which helps prevent scalding accidents due to sudden increases in water temperatures caused by fluctuations in pressure levels within pipes.
Conclusion
In conclusion, testing an electric shower is a simple process that can be done in the comfort of your own home. It’s important to remember safety first when dealing with electricity and water, so make sure you turn off the power before starting any tests. Once you’ve checked for power, tested the water flow and adjusted the temperature control accordingly, you’ll have a good idea if your electric shower is working correctly or not. Testing an electric shower doesn’t need to be intimidating – just follow these steps, and you’ll be able to check it out in no time!
Paul is the type of person who never met a problem he couldn’t fix. He can always be found tinkering with something in his house, even if it isn’t broken! His tips and tricks are often shared on our site. He’s the one you call when something breaks because he has been known to improvise fixes for everything from leaky faucets to malfunctioning dryers.