Last Updated on February 9, 2023
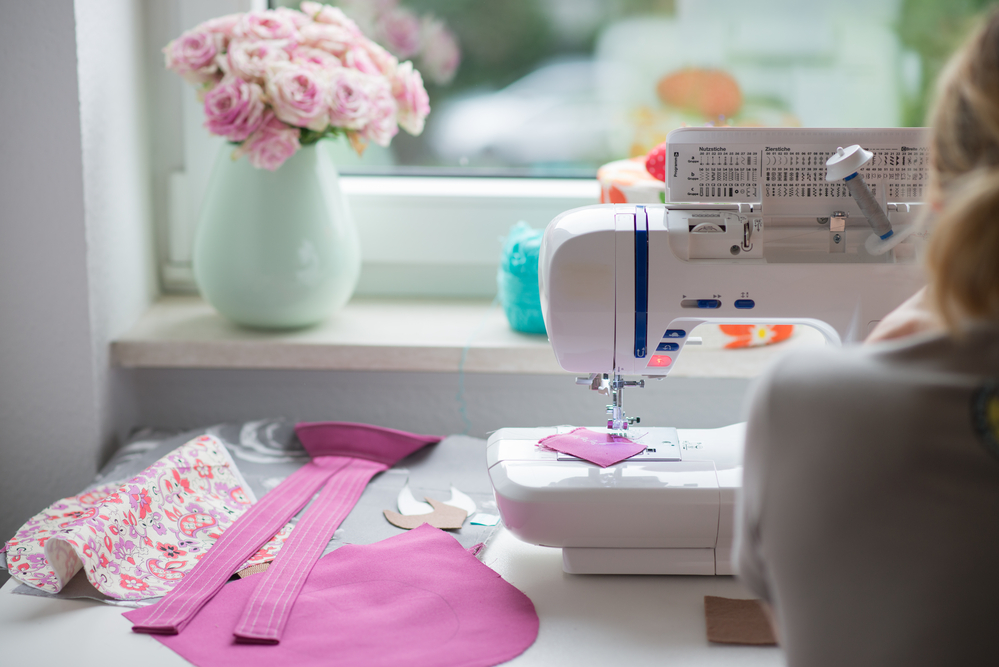
Are you ready to take your sewing projects to the next level? With a little creativity and skill, it’s possible to make all sorts of things with a sewing machine. From crafting beautiful covers for your machine itself to making stylish totes that will last for years – there are so many possibilities. In this blog post, we’ll explore some creative ways you can use your trusty sewing machine, including how to create eye-catching curtains and clothing alterations. So if you’re looking for inspiration on what kind of project might be right up your alley, keep reading – because these make-with-a-sewing-machine ideas are surely worth exploring.
Table of Contents:
- Sewing Machine Covers
- Tote Bags
- Curtains
- Clothing Alterations
- FAQs in Relation to What to Make With a Sewing Machine
- Conclusion
Sewing Machine Covers
Sewing machine covers are a great way to protect your beloved sewing machine from dust, dirt, and other debris. Not only do they keep your machine clean and in good condition, but they also add a stylish touch to any room. Whether you’re looking for something plain or patterned, there is sure to be an option that suits your needs.
First things first: measure the size of your sewing machine, so you know what size cover you need. Once you have this information, it’s time to choose the fabric for your cover. You can opt for something classic like cotton or linen – both of which come in a variety of colours and patterns – or go bold with some fun prints such as polka dots or floral designs. If you want extra protection against spills and stains, then consider using waterproof fabrics such as vinyl or canvas.
Next up is deciding on how much padding you would like inside the cover; if it’s just going to be used occasionally, then one layer should suffice, but if it will get regular use, then two layers might be better suited for added protection against wear-and-tear over time. Foam batting works well here too; simply cut out pieces slightly larger than the measurements of your sewing machine before pinning them together around its edges before stitching them into place with strong thread (or alternatively use an adhesive).
Finally comes the assembly process itself; start by cutting out two rectangles from fabric based on the measurements taken earlier (remembering to add seam allowance) before placing the right sides together and pinning along all four edges (leave a gap at one end so that stuffing can be inserted later). Stitch around each edge using either a straight stitch or zigzag stitch, depending on preference, before turning right side out through the gap left earlier – make sure all corners are pushed out nicely during this step. Stuff lightly with foam batting/padding before hand stitching closed securely. Voila, your new custom made sewing machine cover is now ready for use.
Creating a sewing machine cover is a great way to protect your investment and ensure it lasts for years. With the right materials, you can make an attractive and functional cover that will keep your machine safe from dust and other damage. Next, let’s look at how to create beautiful tote bags with your sewing machine.
Tote Bags
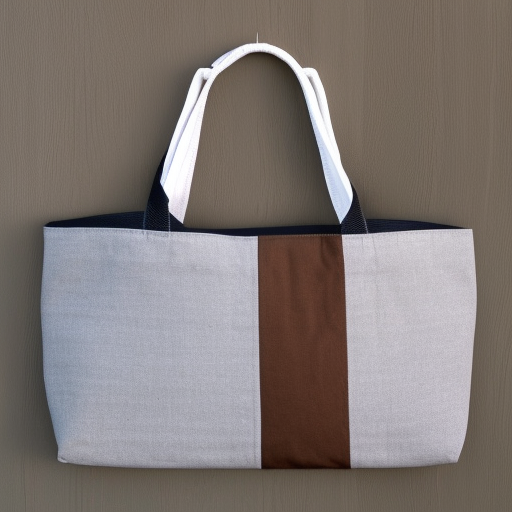
Tote bags are a great way to show off your style and make a statement. Whether you’re heading out for the day or carrying groceries, these bags can be both practical and fashionable. With this tutorial, you’ll learn how to create a unique bag that will be the envy of all your friends.
Materials
To get started on your own custom tote bag, gather up some basic materials. You’ll need fabric in two colours (or one if you prefer), scissors, pins, thread, a needle and an iron. It’s also helpful to have a ruler or measuring tape handy so that everything is cut evenly.
Cutting
Once you have all of your supplies ready, it’s time to start cutting. Begin by laying out the fabric pieces on top of each other with the right sides facing together – this means that when they’re sewn together, they’ll look correct from both sides. Use pins around the edges of the fabric pieces to hold them in place while cutting along the lines marked with chalk or tailor’s pencils. Make sure not to cut too close, as this could cause fraying later on down the line. Once finished with cutting, remove any excess threads from around the seams before moving on to the sewing step below.
Sewing
Using either hand-stitching or machine stitching, sew along all four edges of where fabrics were pinned together previously – making sure not to leave any gaps between stitches, which could lead to unravelling later on down line when using the item frequently over time. When finished, secure ends by tying knots at end points; then turn inside out, so the right side is now visible outside instead hidden within layers like before the sewing process began earlier.
Finishing Touches
Creating a tote bag with a sewing machine is an easy and rewarding project. With the right materials, it can be done in no time at all. Now let’s take a look at how to make curtains with your sewing machine.
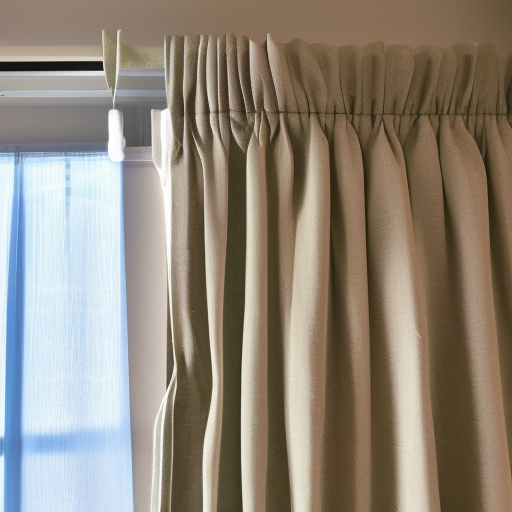
Curtains
Curtains are a great way to transform any room in your home. Whether you’re looking for something light and airy or dark and dramatic, curtains can make all the difference. From blackout curtains to sheer voiles, there is an endless variety of fabrics available that will help create the perfect atmosphere in any space.
When choosing fabric for your curtains, consider how much light you want to let into the room as well as how it will look with other elements, such as furniture and flooring. If you’re going for a more traditional look, opt for heavier fabrics like velvet or brocade; if modern is more your style, then choose lighter materials like cotton or linen. You can also mix different textures together to create interesting patterns and designs.
If you’re feeling creative, why not try making your own custom curtains? With some basic sewing skills (or even just access to a sewing machine), you can easily turn fabric into beautiful window treatments that fit perfectly in any space. Start by measuring the width of your windows so that you know exactly how much fabric to buy – most curtain panels come in standard sizes, but if yours don’t fit perfectly, then simply add extra material when cutting out the pieces from the roll of fabric. Once cut out, use pins to mark where each panel should be sewn together before stitching them up on either side using a straight stitch setting on your machine (don’t forget about hems.). Finally, hang up with rings or hooks depending on what type of track system you have installed – et voila.
For those who aren’t quite ready yet for DIY projects involving needles and thread, there are plenty of ready-made options available too – from classic pleated styles through to eyelet headings – which offer an easy solution without compromising on quality or design aesthetics. So whether it’s time for an update or just adding finishing touches around the house – think about investing in some new curtains today.
Curtains can be a great way to add colour and texture to any room, but if you want something truly unique, why not make your own with a sewing machine? Next up, we’ll look at how to use a sewing machine for clothing alterations.
Clothing Alterations
Clothing alterations can be a great way to save money, especially if you’re on a budget. Whether it’s hemming jeans or taking in the waist of your favourite dress, learning how to do clothing alterations yourself is an easy and cost-effective way to make sure that your clothes fit perfectly.
To get started with clothing alterations, you’ll need some basic supplies like scissors, pins, thread, needles and fabric chalk or tailor’s tape measure. It also helps to have an ironing board and iron handy for pressing seams, as well as a seam ripper for removing stitches when needed. Once you’ve gathered all of these items together, it’s time to start altering.
Hemming Jeans
Hemming jeans are one of the most common types of clothing alteration that people do themselves. To begin this process, first, try on the jeans and mark where they should be hemmed using fabric chalk or tailor’s tape measure. Then turn up the cuff twice so that it meets at the desired length before pinning it into place along both sides of each leg evenly. Finally, stitch along each side using small straight stitches close together until complete, then press with an iron if necessary.
Taking in waistlines is another popular type of alteration often done by hand at home rather than professionally tailored due to its simplicity yet effective results when done correctly. Begin by trying on the garment and marking where adjustments are needed with either fabric chalk or tailor’s tape measure before cutting off any excess material from around the waistline area leaving enough room for stitching (about 1/4 inch). Pin into place, ensuring evenness throughout, then stitch around the entire circumference, making sure not to pull too tight while sewing otherwise garment will become distorted once finished being worn again later down line after laundering etc. Lastly, press with an iron if necessary before wearing it out proudly, knowing you saved money doing it yourself.
FAQs in Relation to What to Make With a Sewing Machine
What is the easiest thing to make on a sewing machine?
Sewing a pillowcase is one of the easiest projects to make on a sewing machine. It requires minimal fabric and supplies and can be completed in just a few steps. First, cut two rectangles of fabric that are the same size. Then, place them right sides together and sew around three edges with a straight stitch. Finally, turn it inside out and press the seams flat before adding any decorative details like piping or cording if desired. With practice, you’ll be able to complete this project in no time.
What’s the easiest thing to sew for beginners?
Sewing is a great way to get creative and make something unique. For beginners, the easiest thing to sew is usually a pillowcase or cushion cover. It’s simple enough that you don’t need any special tools or skills, yet it still allows for some customization with fabric choice and embellishments. All you need are two pieces of fabric cut in the same size, pins, thread, scissors and an iron. Sew the two pieces together along three sides using a basic straight stitch on your sewing machine (or by hand if you prefer). Finish off with an invisible hem around the open side for a neat finish.
What do you make first on a sewing machine?
The first thing you should make on a sewing machine is a simple straight stitch. This basic stitch is used for hemming, attaching two pieces of fabric together, and more. It’s important to practice this stitch before attempting any other projects, as it will help build your confidence in using the machine. Once you feel comfortable with the straight stitch, then you can move on to more complex stitches, such as zigzag or decorative stitches. With patience and practice, anyone can become an expert seamstress.
What items to sew and sell?
Home and garden products are a great area to explore when it comes to sewing and selling items. Popular items include cushion covers, curtains, throws, quilts, table runners, pot holders, oven mitts and aprons. You could also make decorative items such as wall hangings or doorstops. Sewing bags or purses are another option for those looking for something different. With the right fabric choices, you can create unique pieces that will be sure to stand out from the crowd.
Conclusion
As you can see, there are so many different projects that you can make with a sewing machine. Whether it’s making covers for your sewing machine, tote bags, curtains or clothing alterations – the possibilities are endless. With some practice and patience, you’ll be able to create beautiful pieces of art with your sewing machine in no time. So why not give it a try? You never know what amazing things you could make with a sewing machine.
Paul is the type of person who never met a problem he couldn’t fix. He can always be found tinkering with something in his house, even if it isn’t broken! His tips and tricks are often shared on our site. He’s the one you call when something breaks because he has been known to improvise fixes for everything from leaky faucets to malfunctioning dryers.